Discover how to effectively use ZenmarkAI with this comprehensive guide.
Go to www.zenmarkai.com
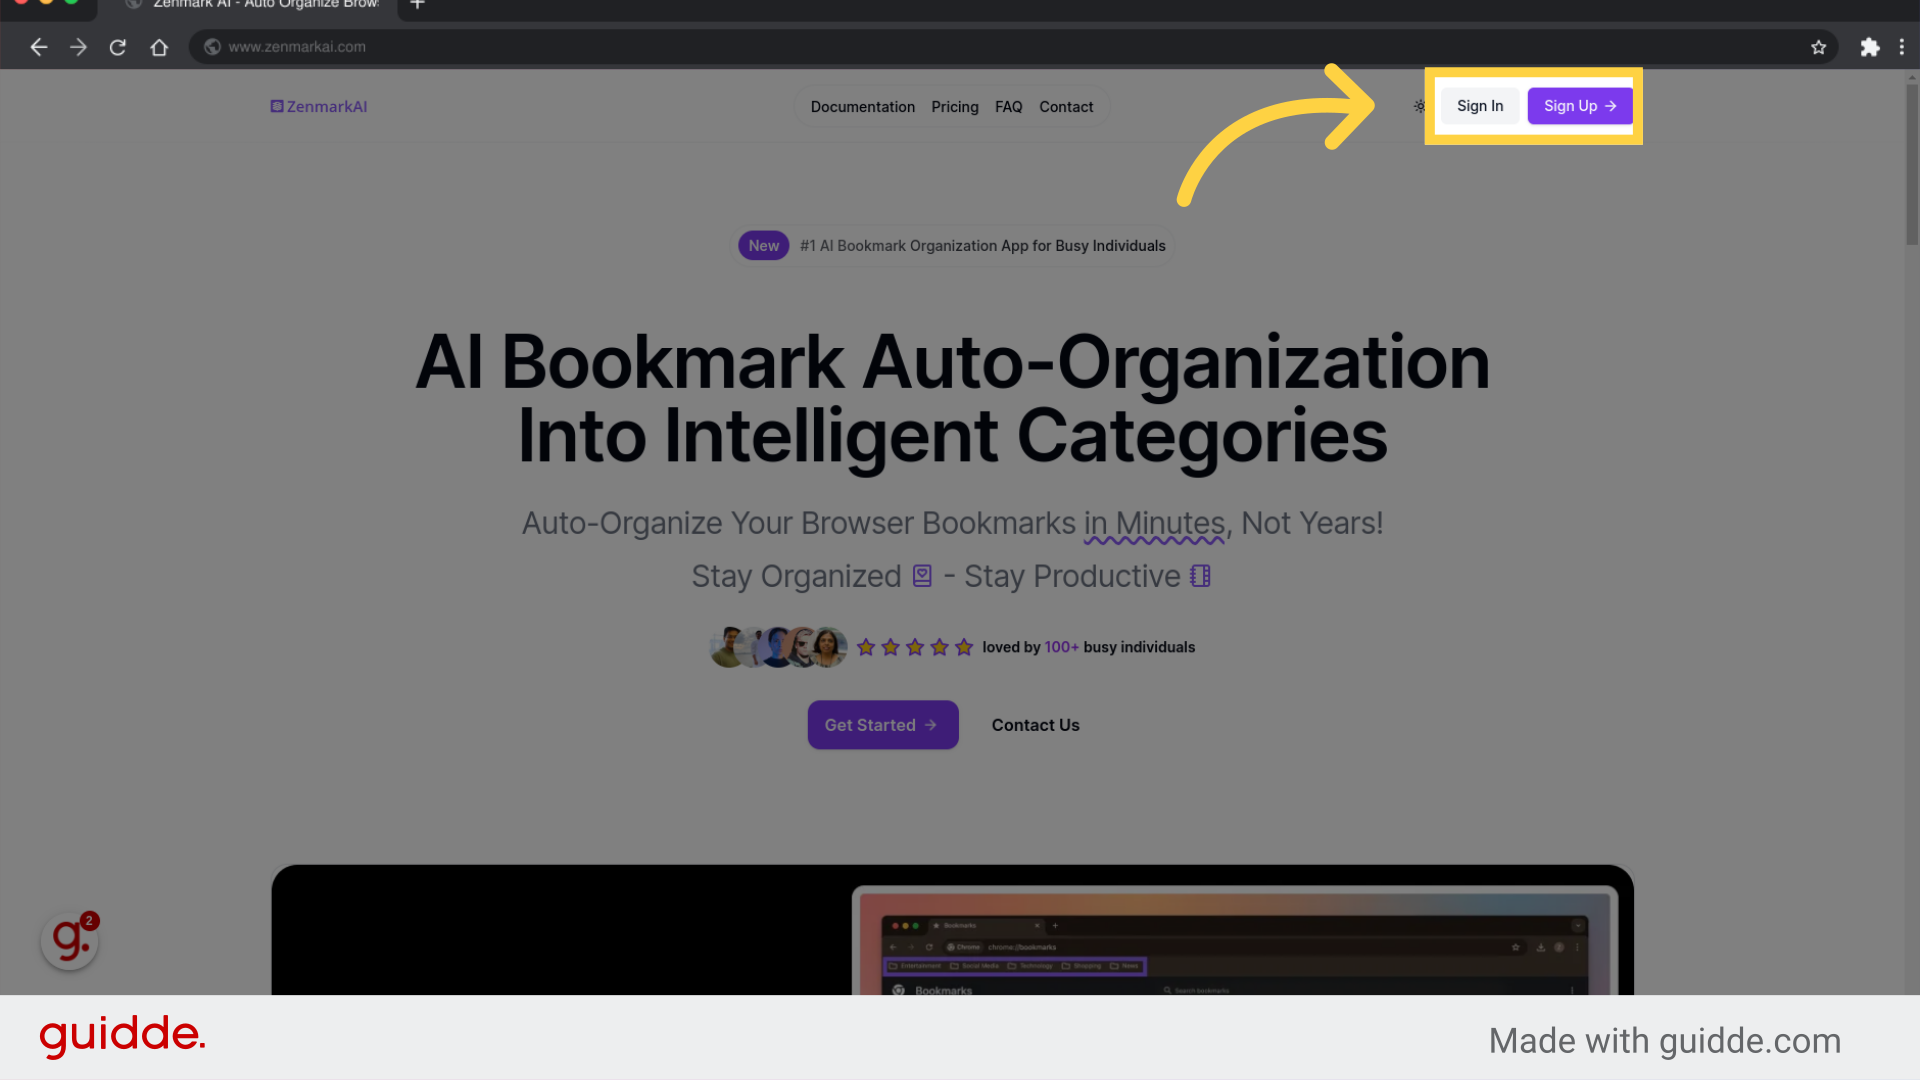
1. Click "Sign Up" or "Sign In"
Initiate the sign-in process.
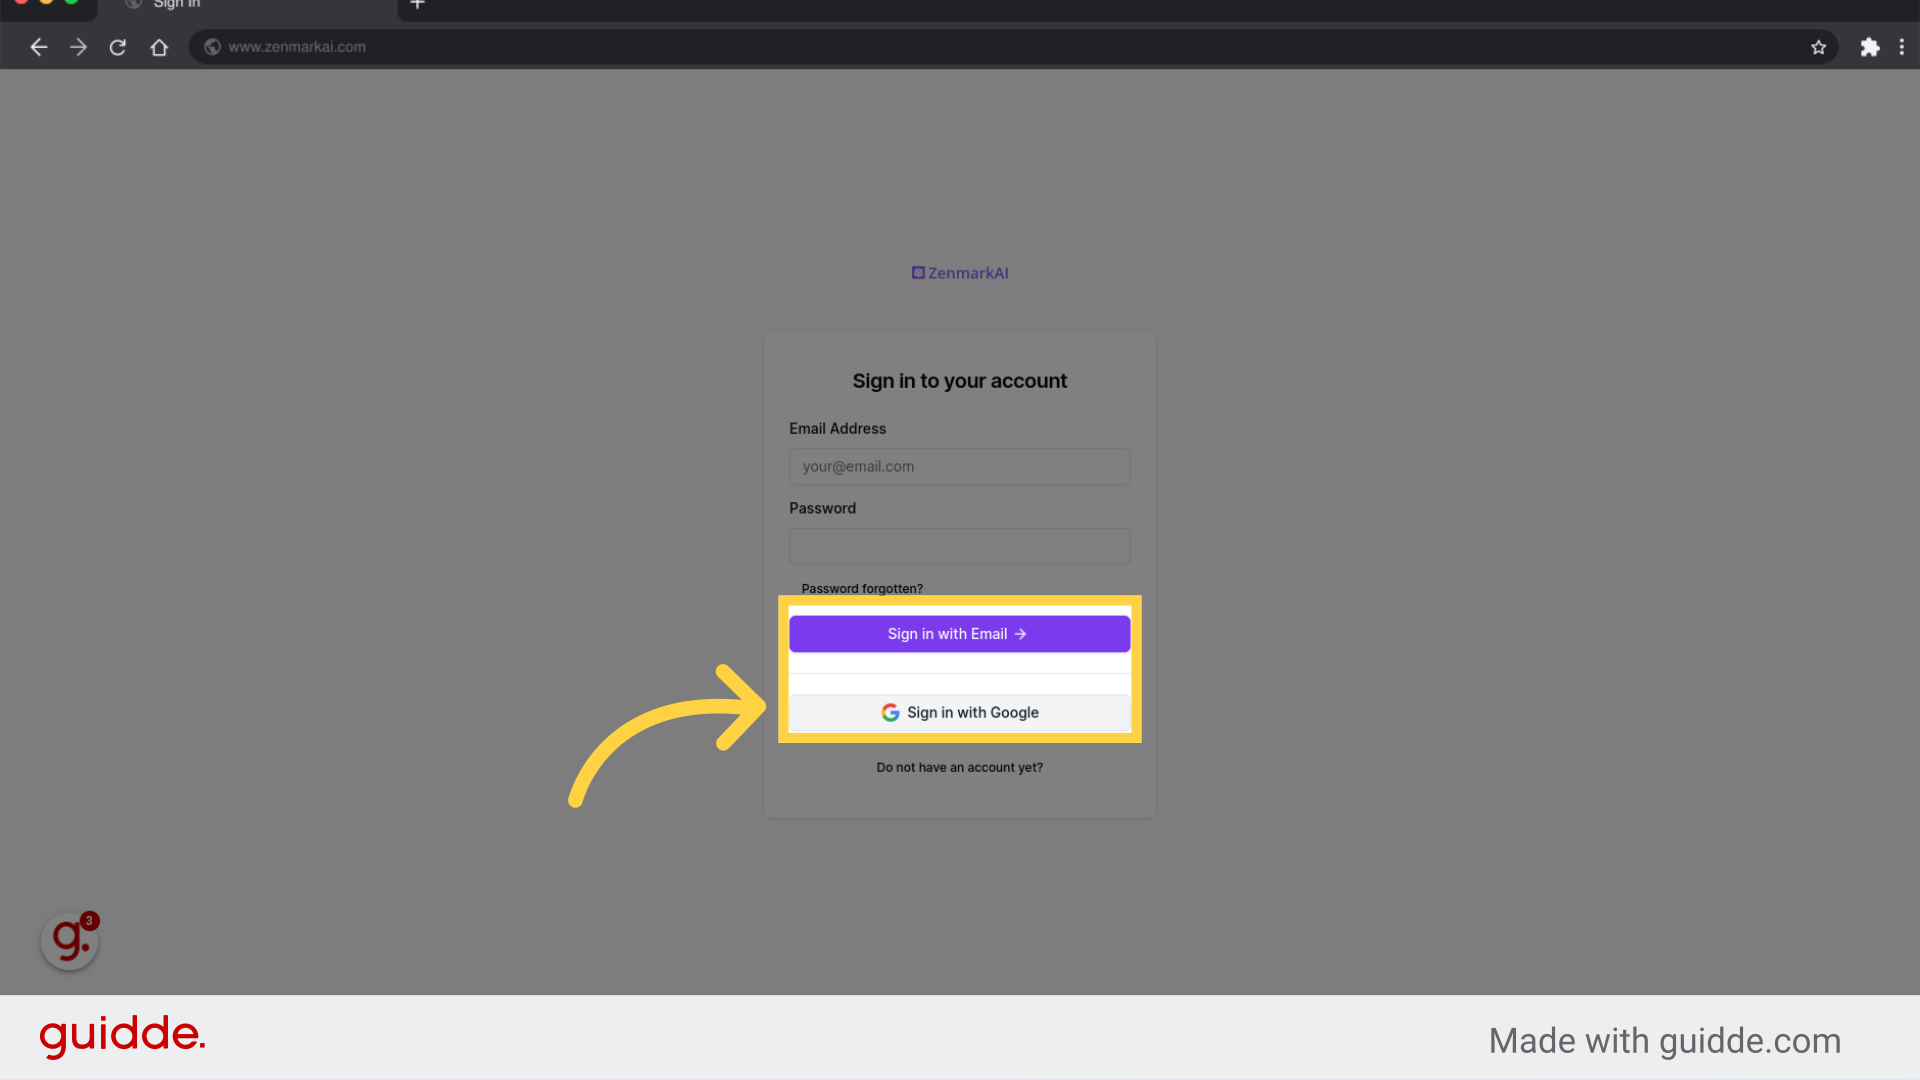
2. Click "Sign in"
Sign in using Email or Google.
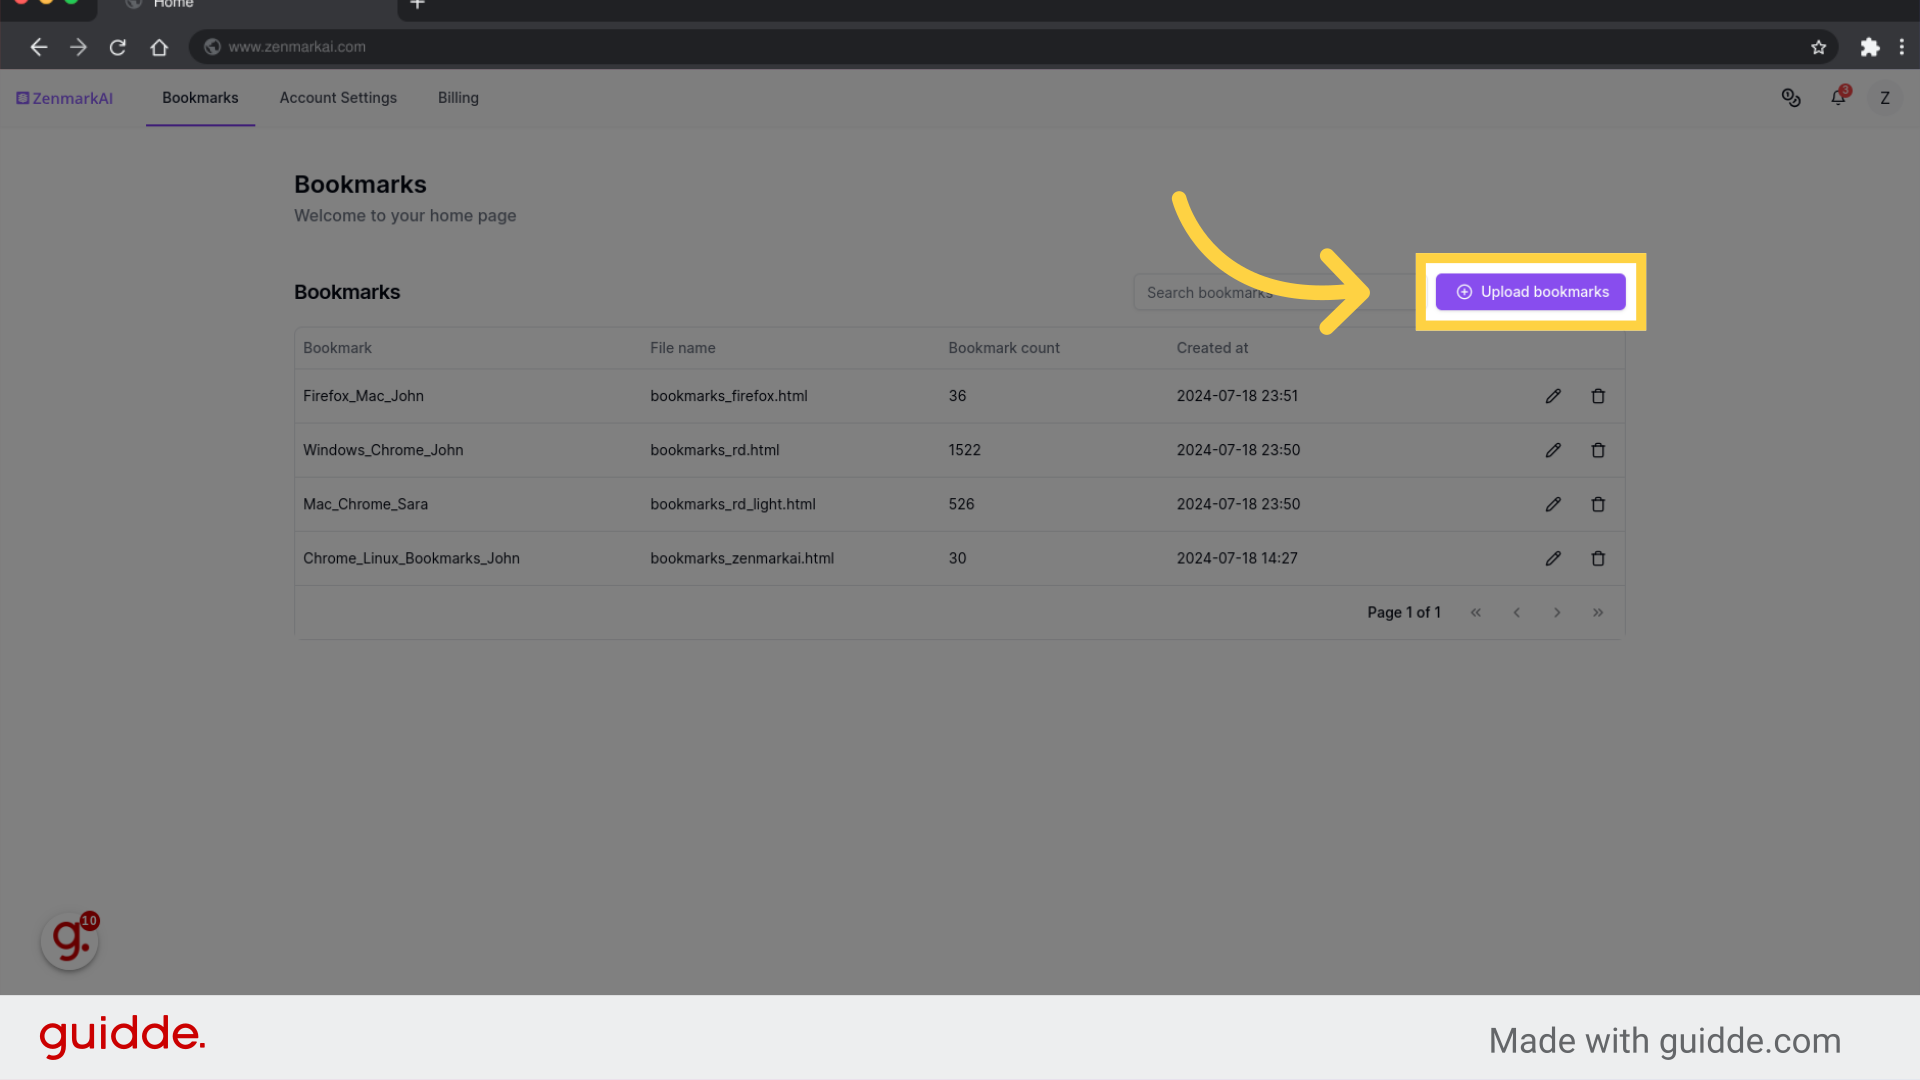
3. Click "Upload bookmarks"
Start the bookmark upload process.
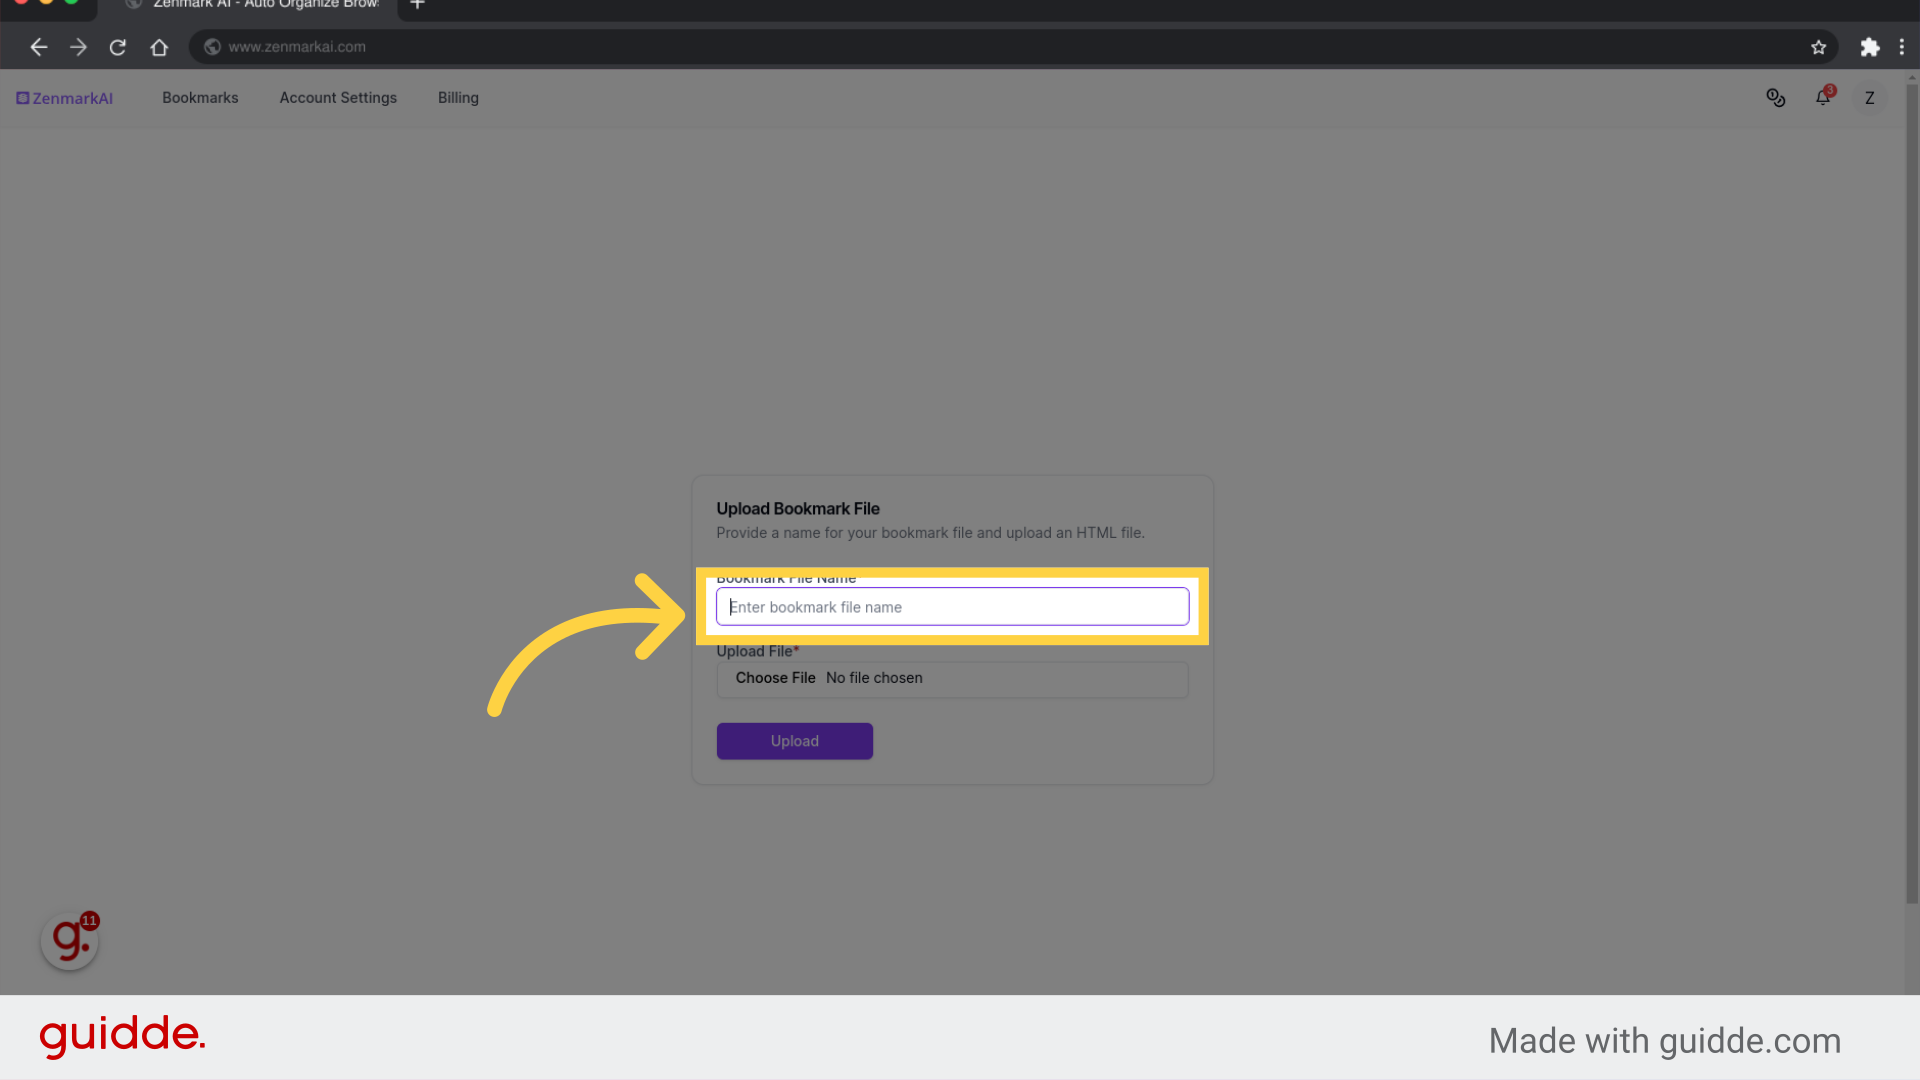
4. Click "Enter bookmark file name"
Input the bookmark file name.
5. Upload bookmark html file
Click on the provided link.
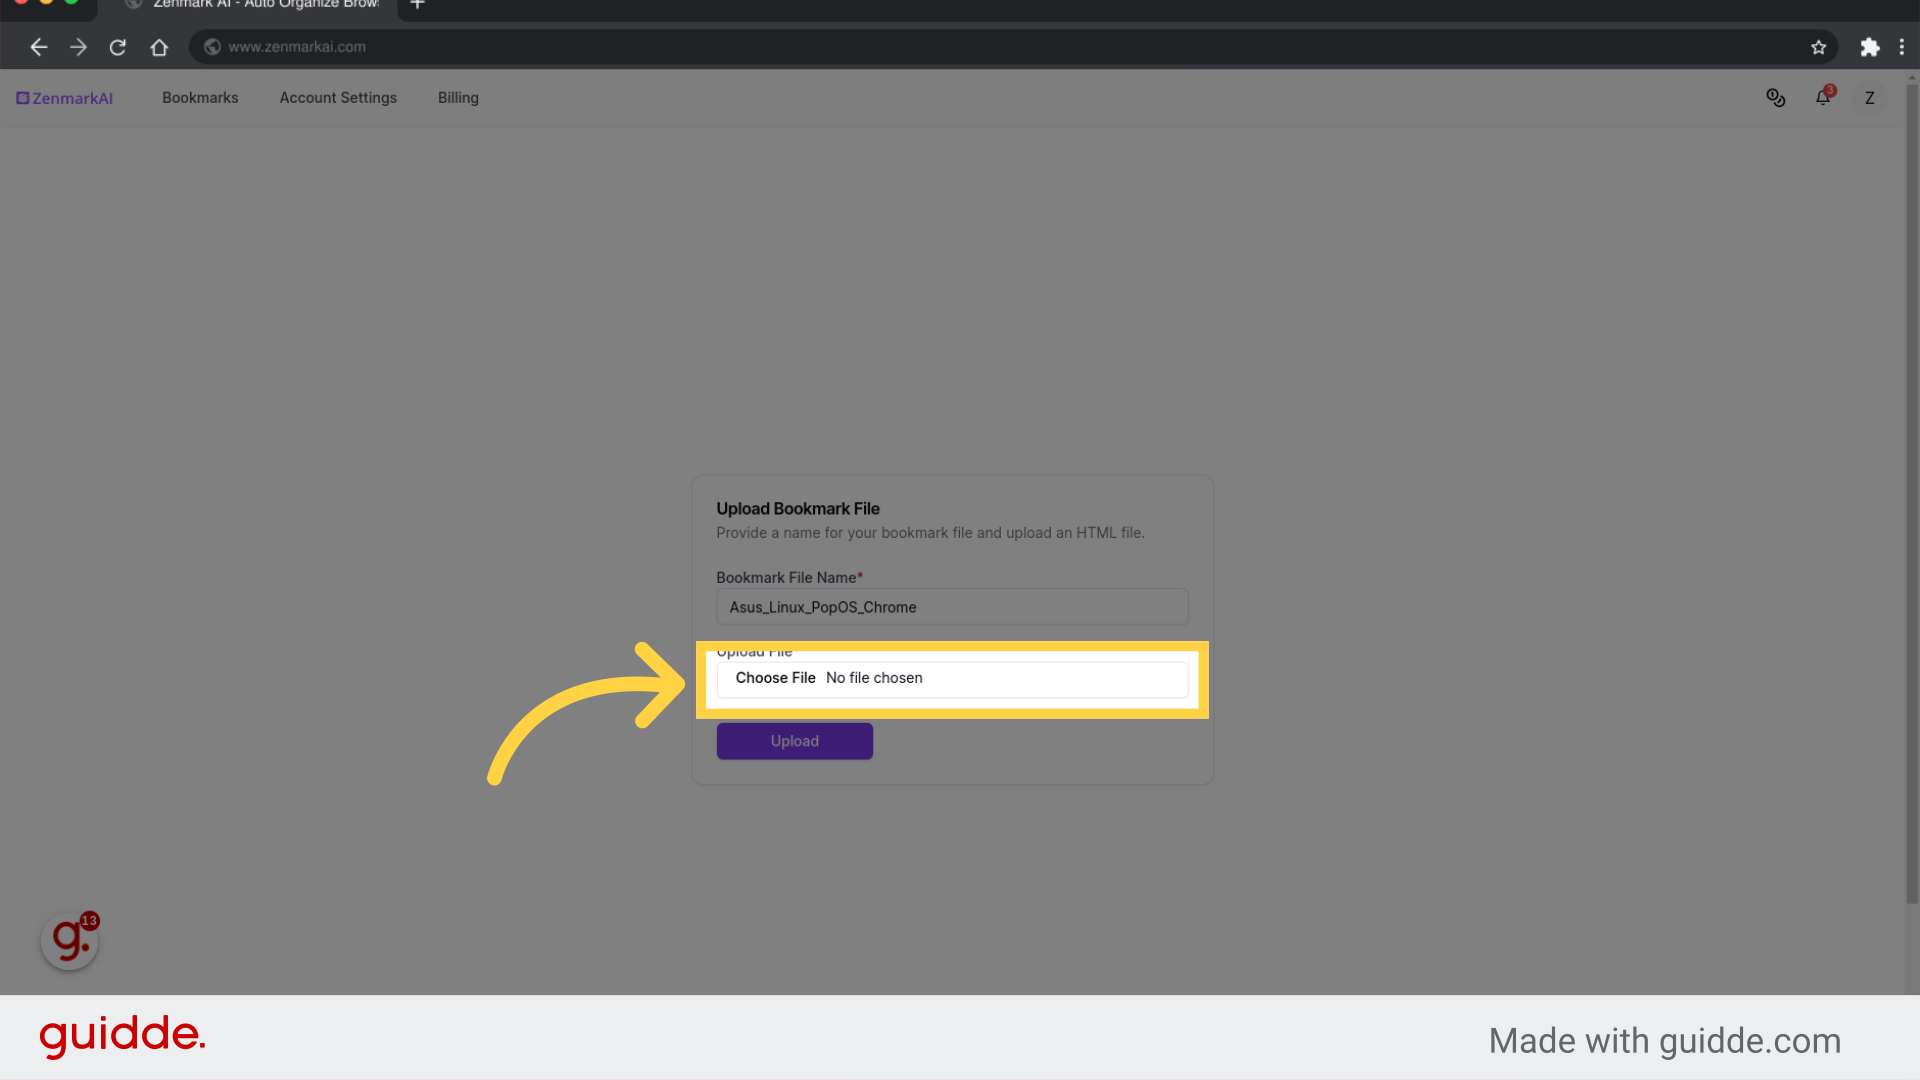
6. Click "Upload"
Initiate the upload process.
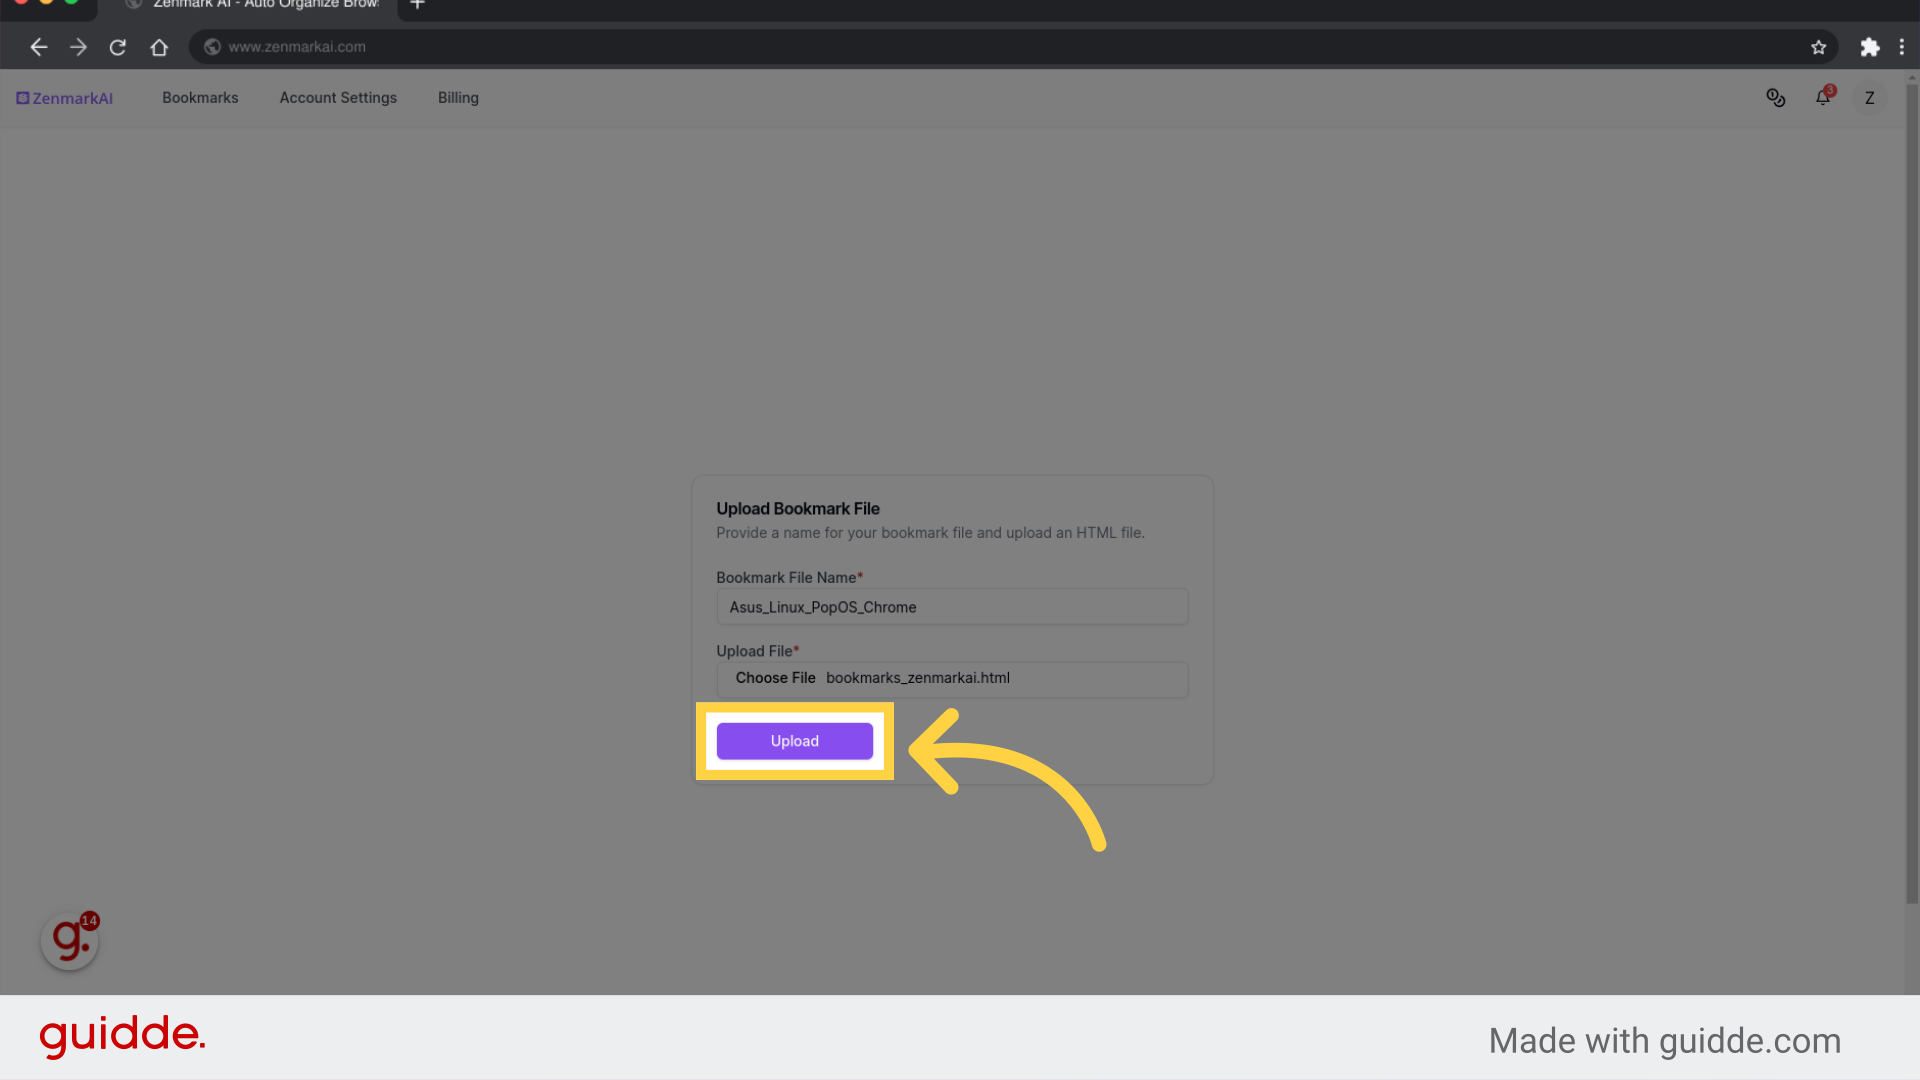
7. Click bookmark file
Select the option.
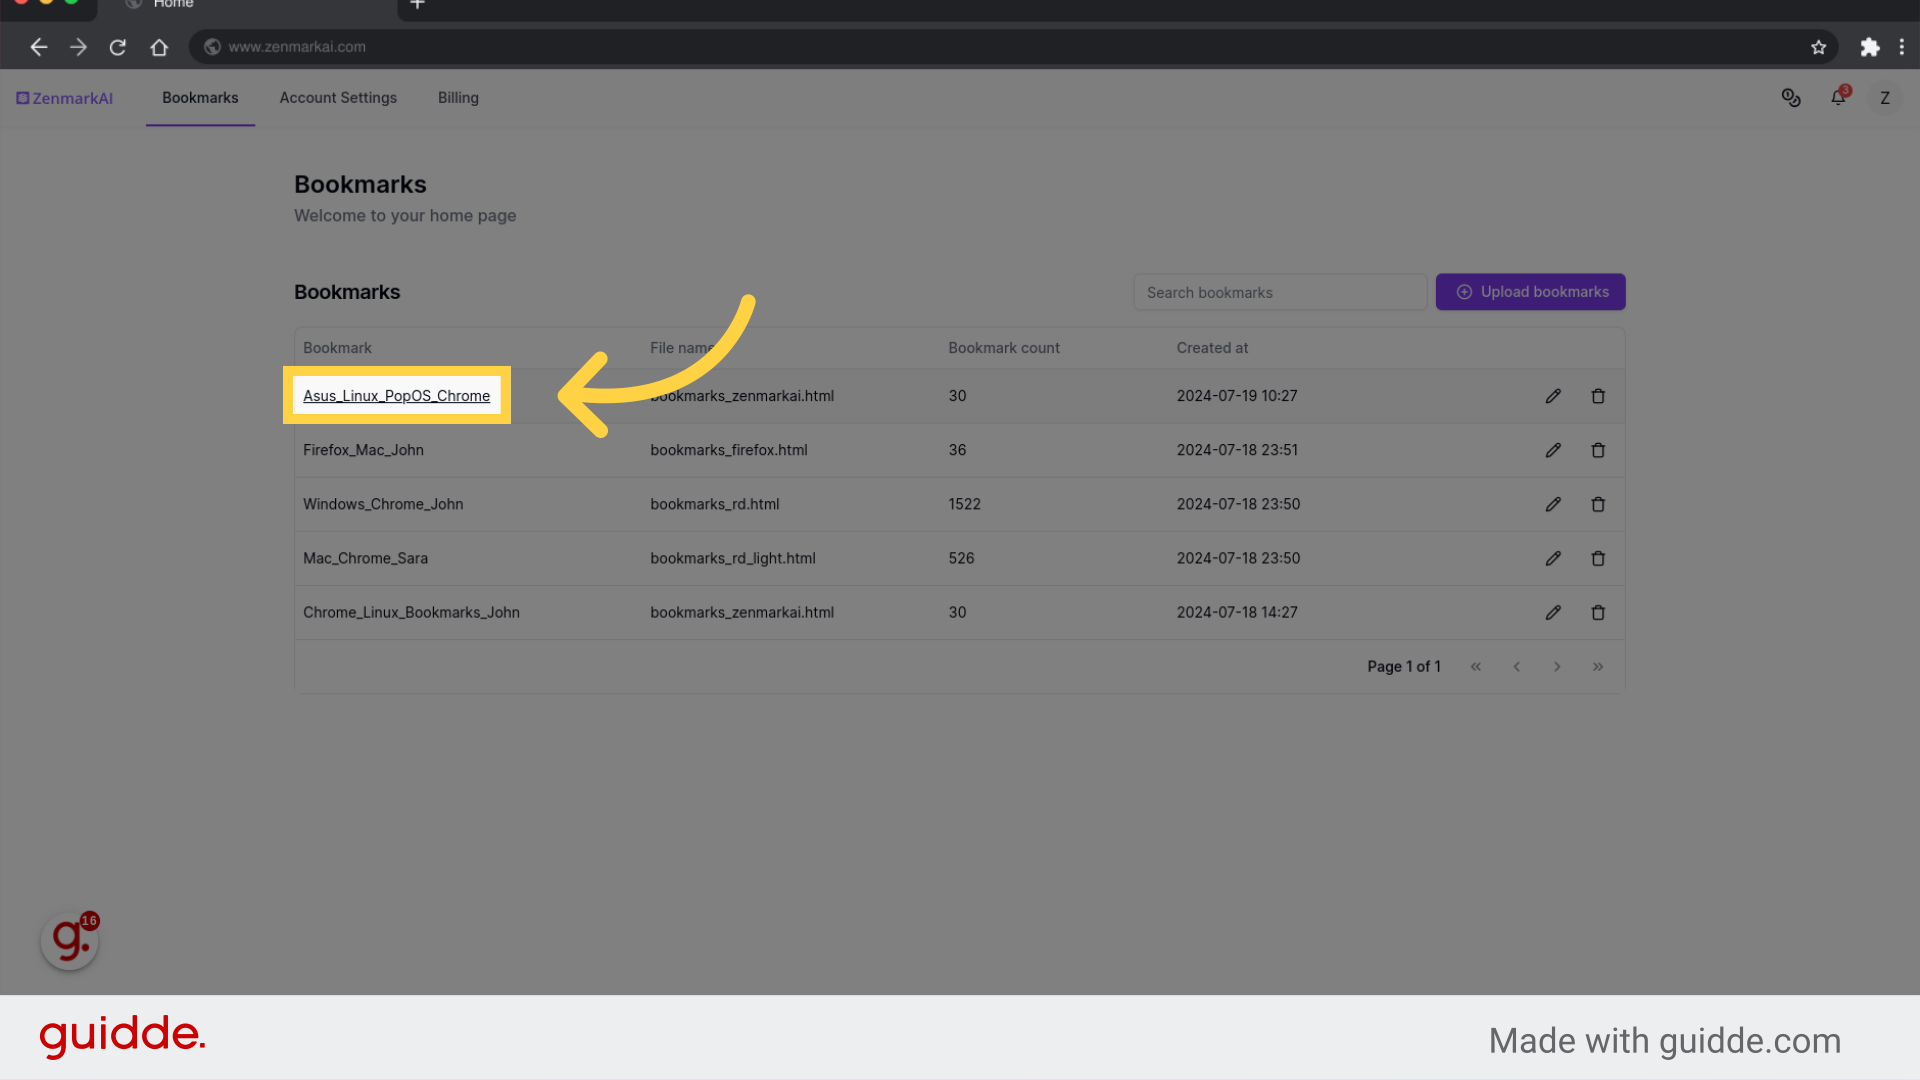
8. Check "Statistics"
Access the statistics section.
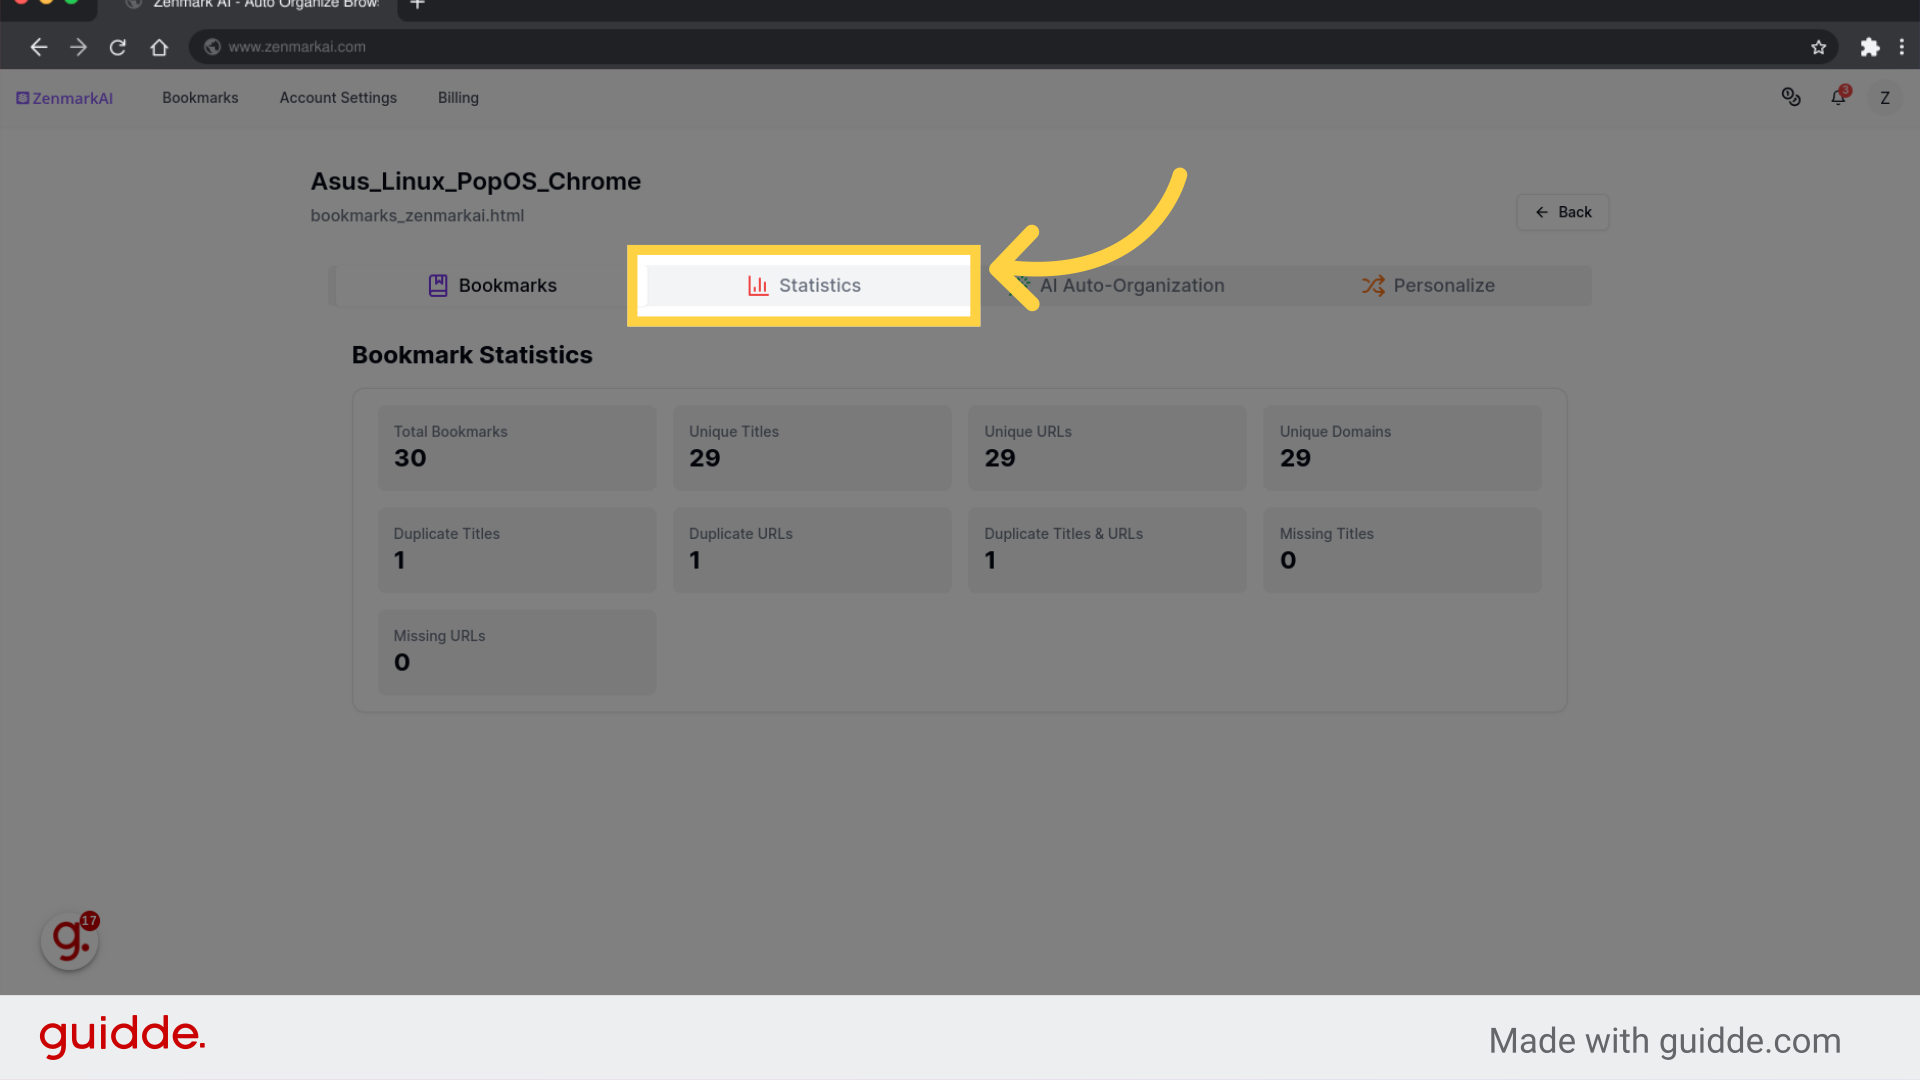
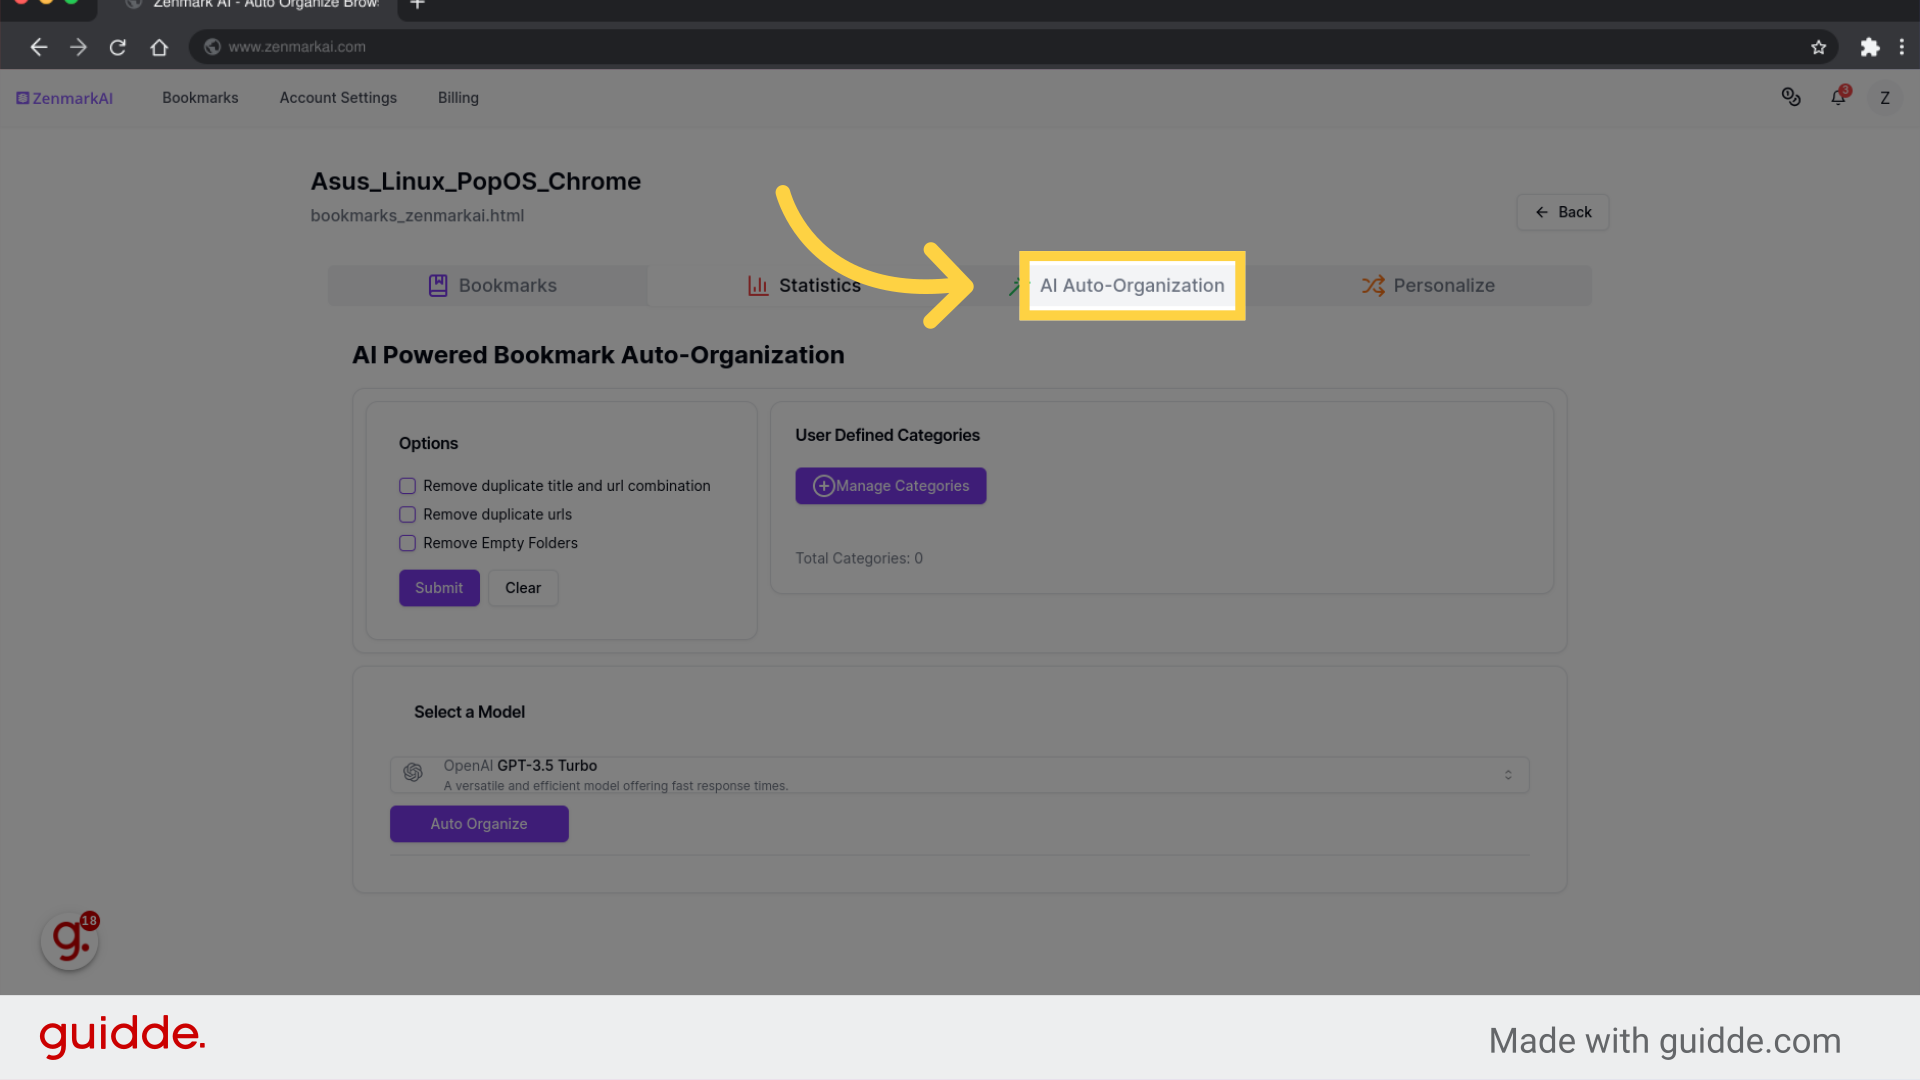
9. Click "AI Auto-Organization"
Navigate to AI Auto-Organization.
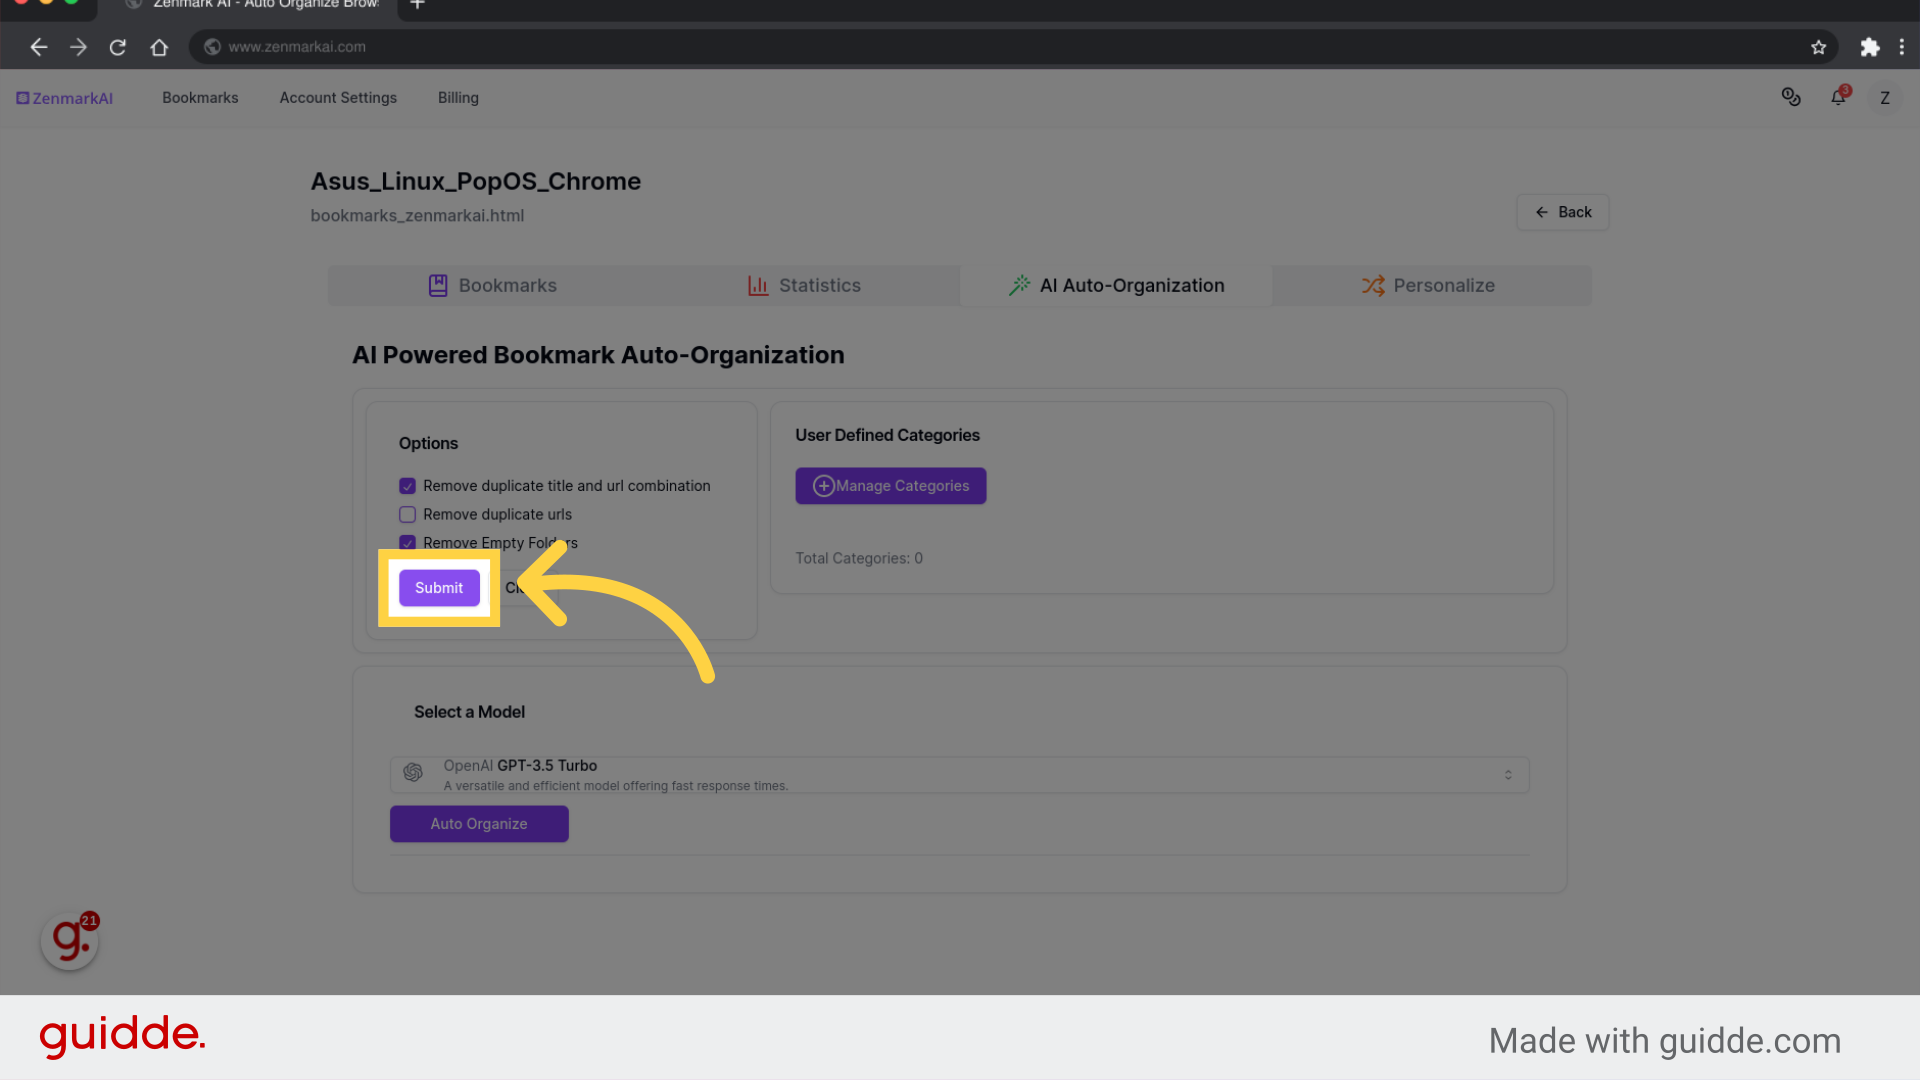
10. Select "Options" and "Submit"
Submit the form.
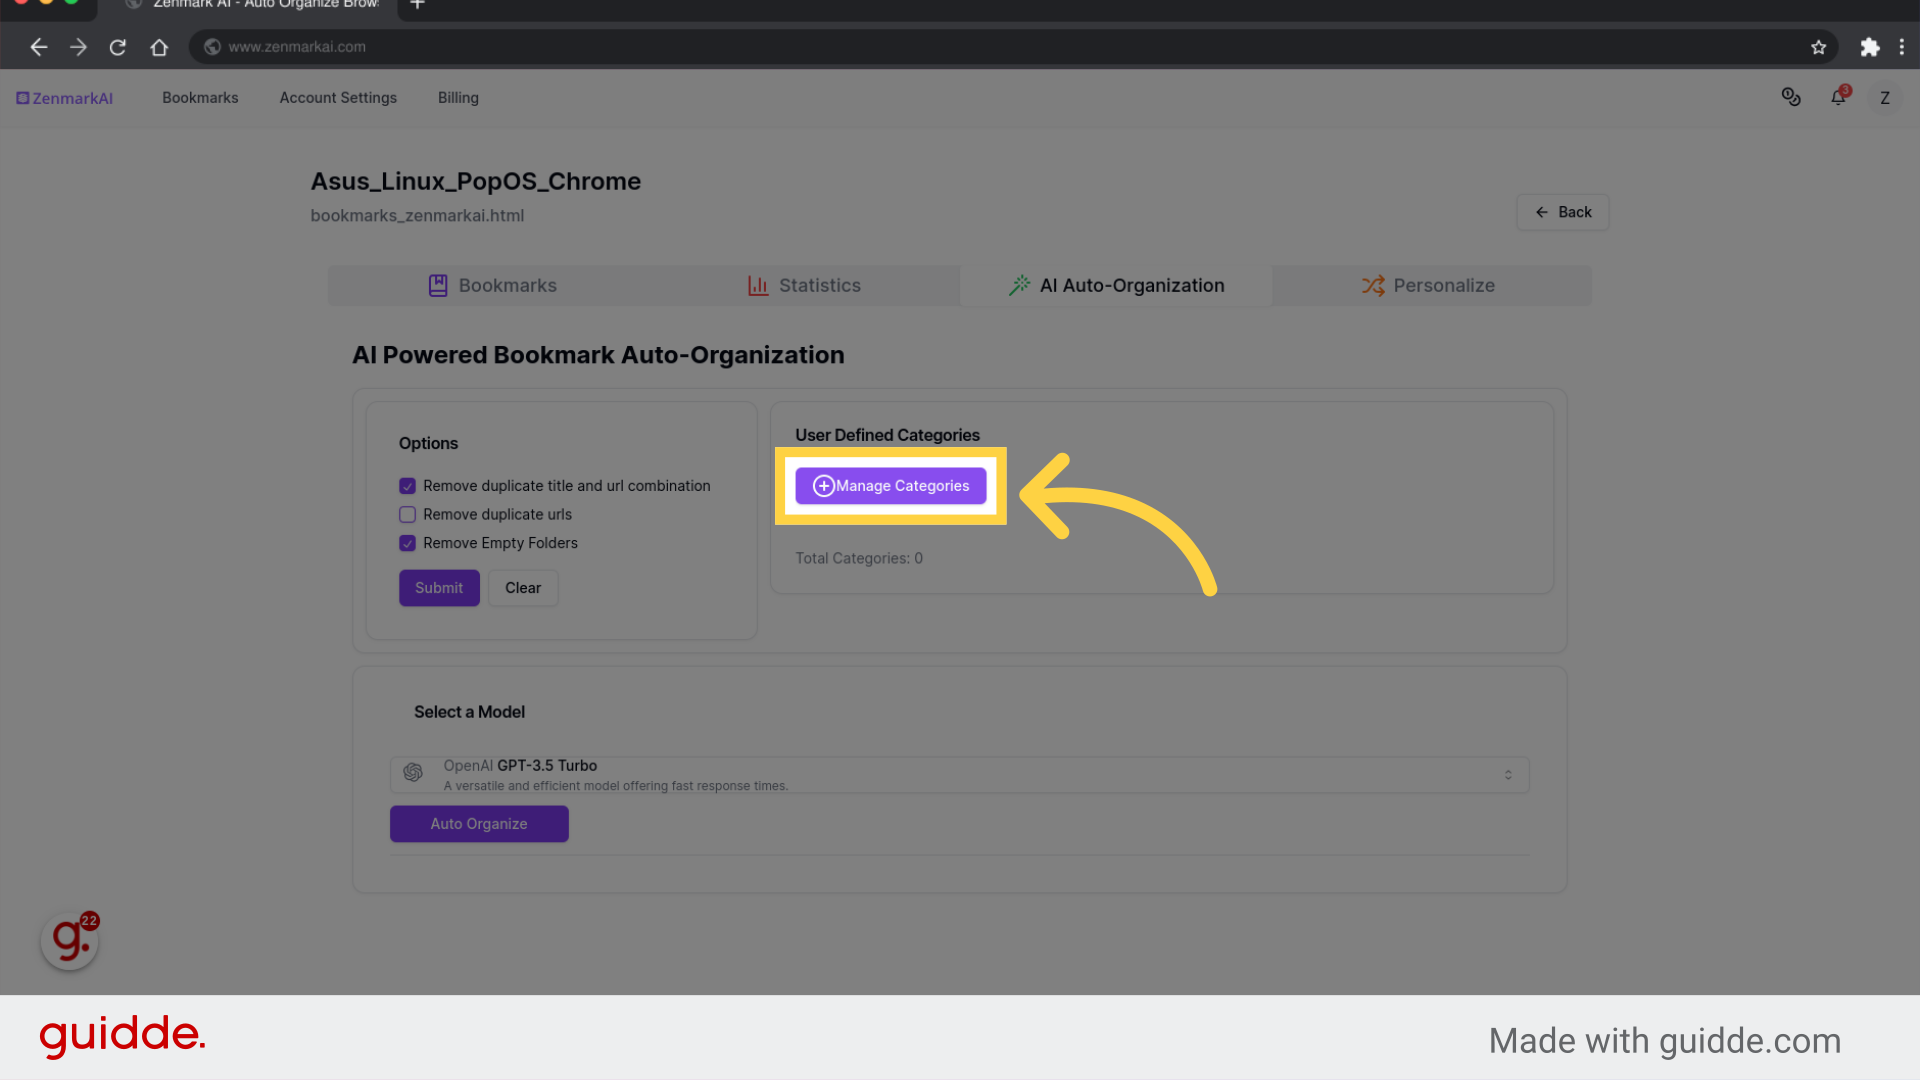
11. Click "Manage Categories"
Access the category management.
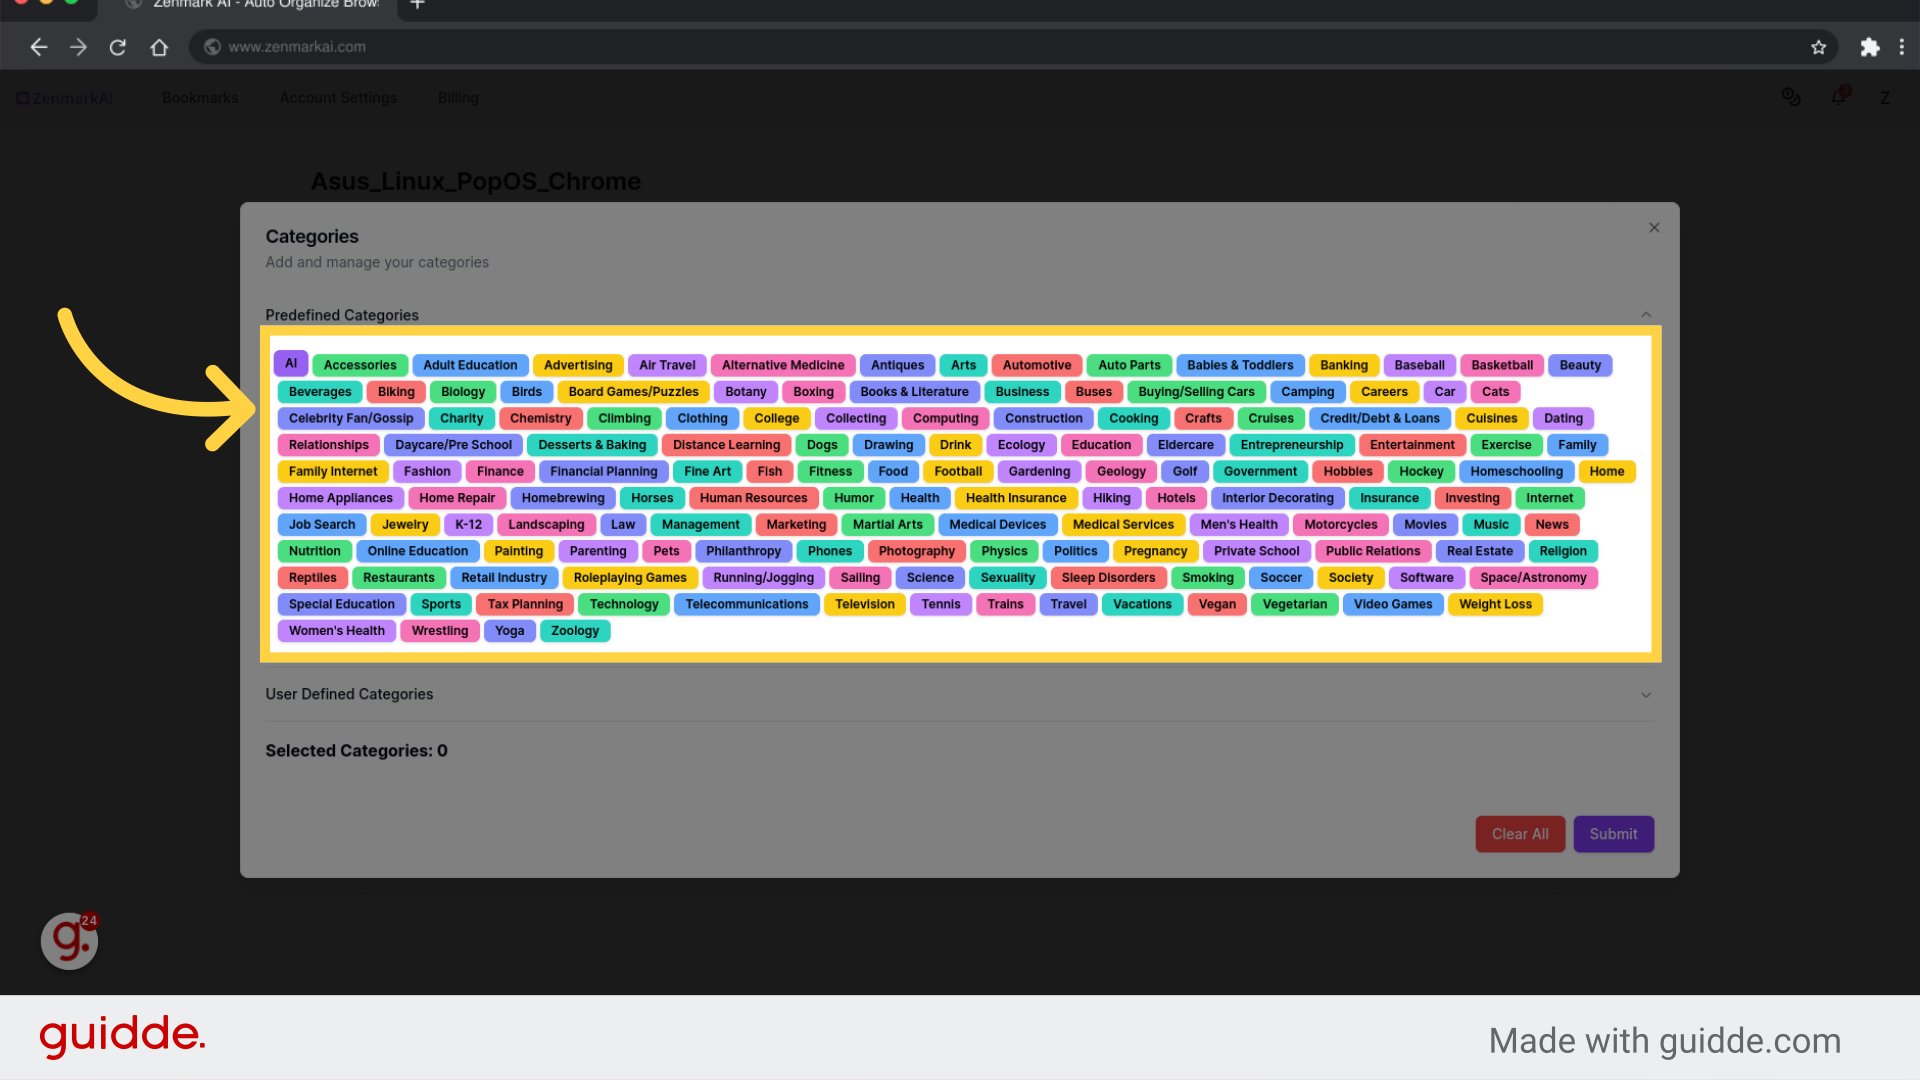
12. Select predefined categories
Select categories of interest
13. Click "User Defined Categories"
Access user-defined categories.
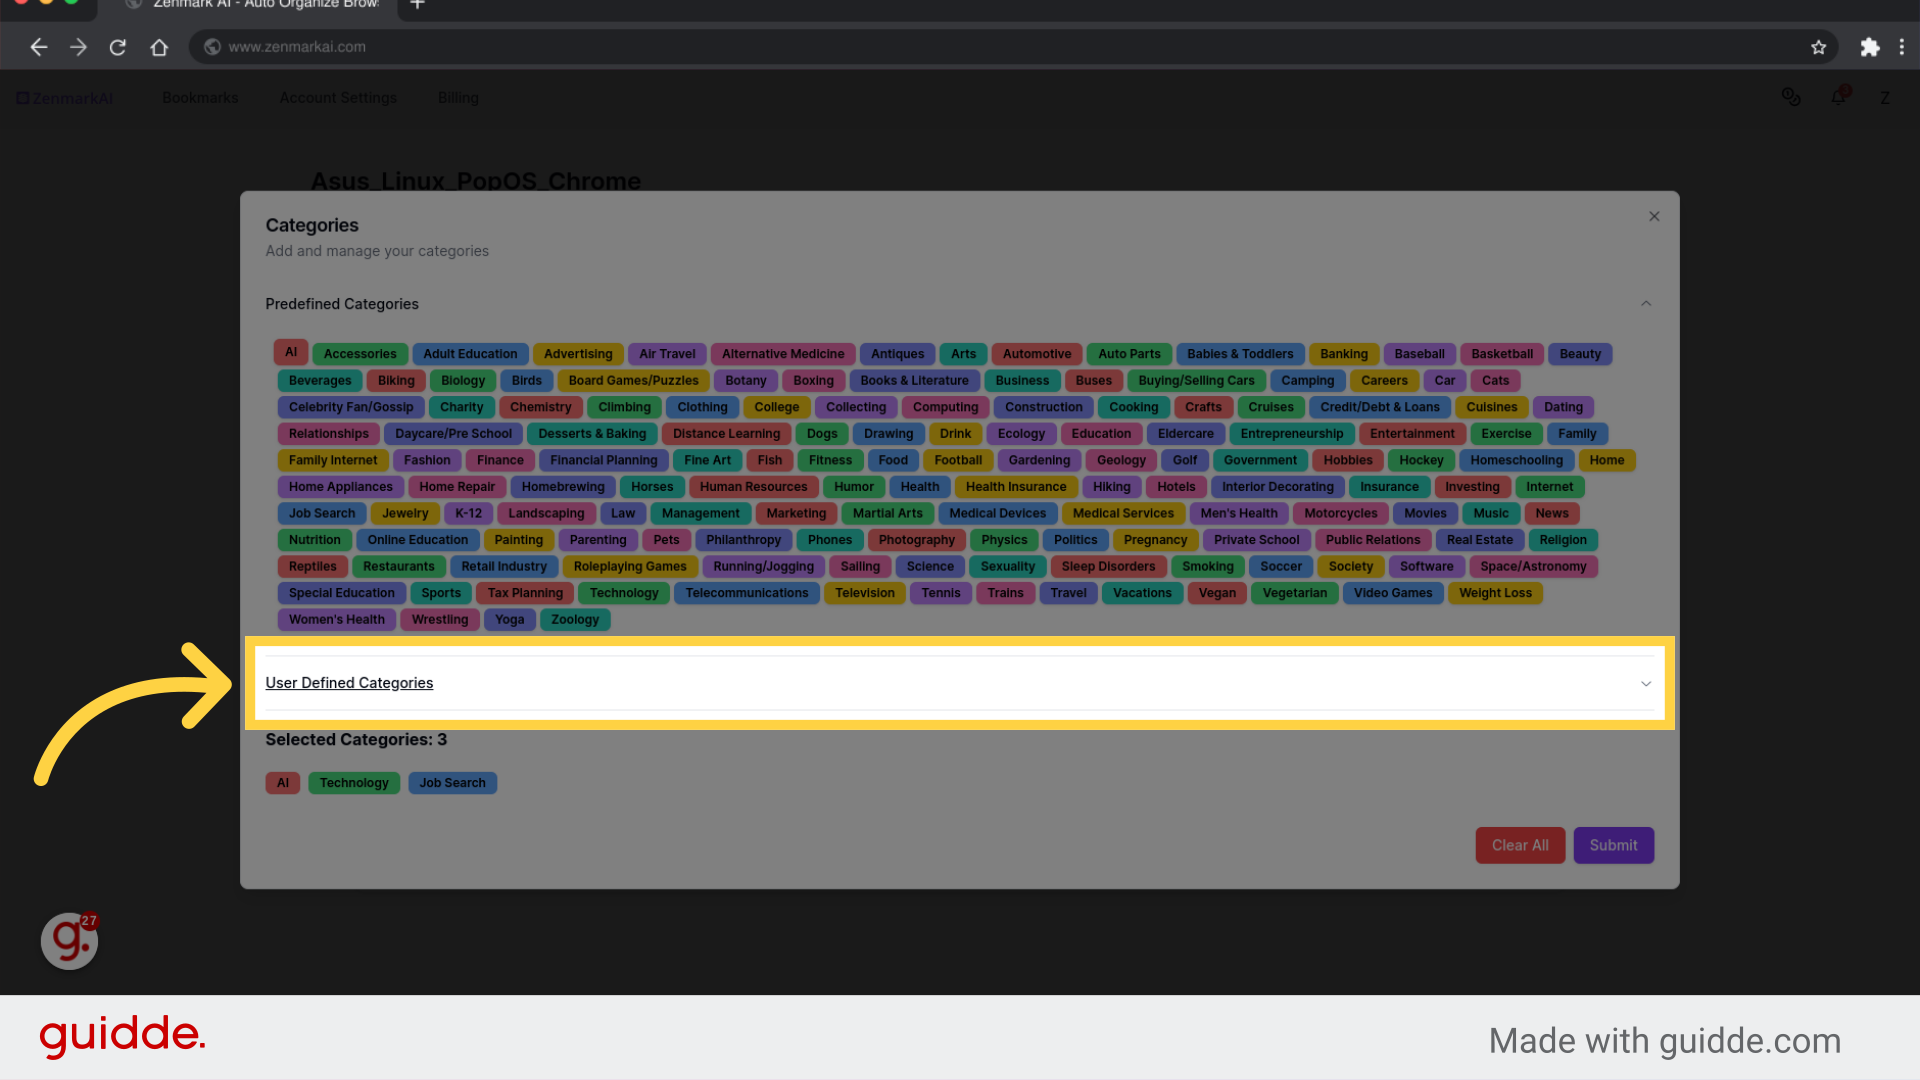
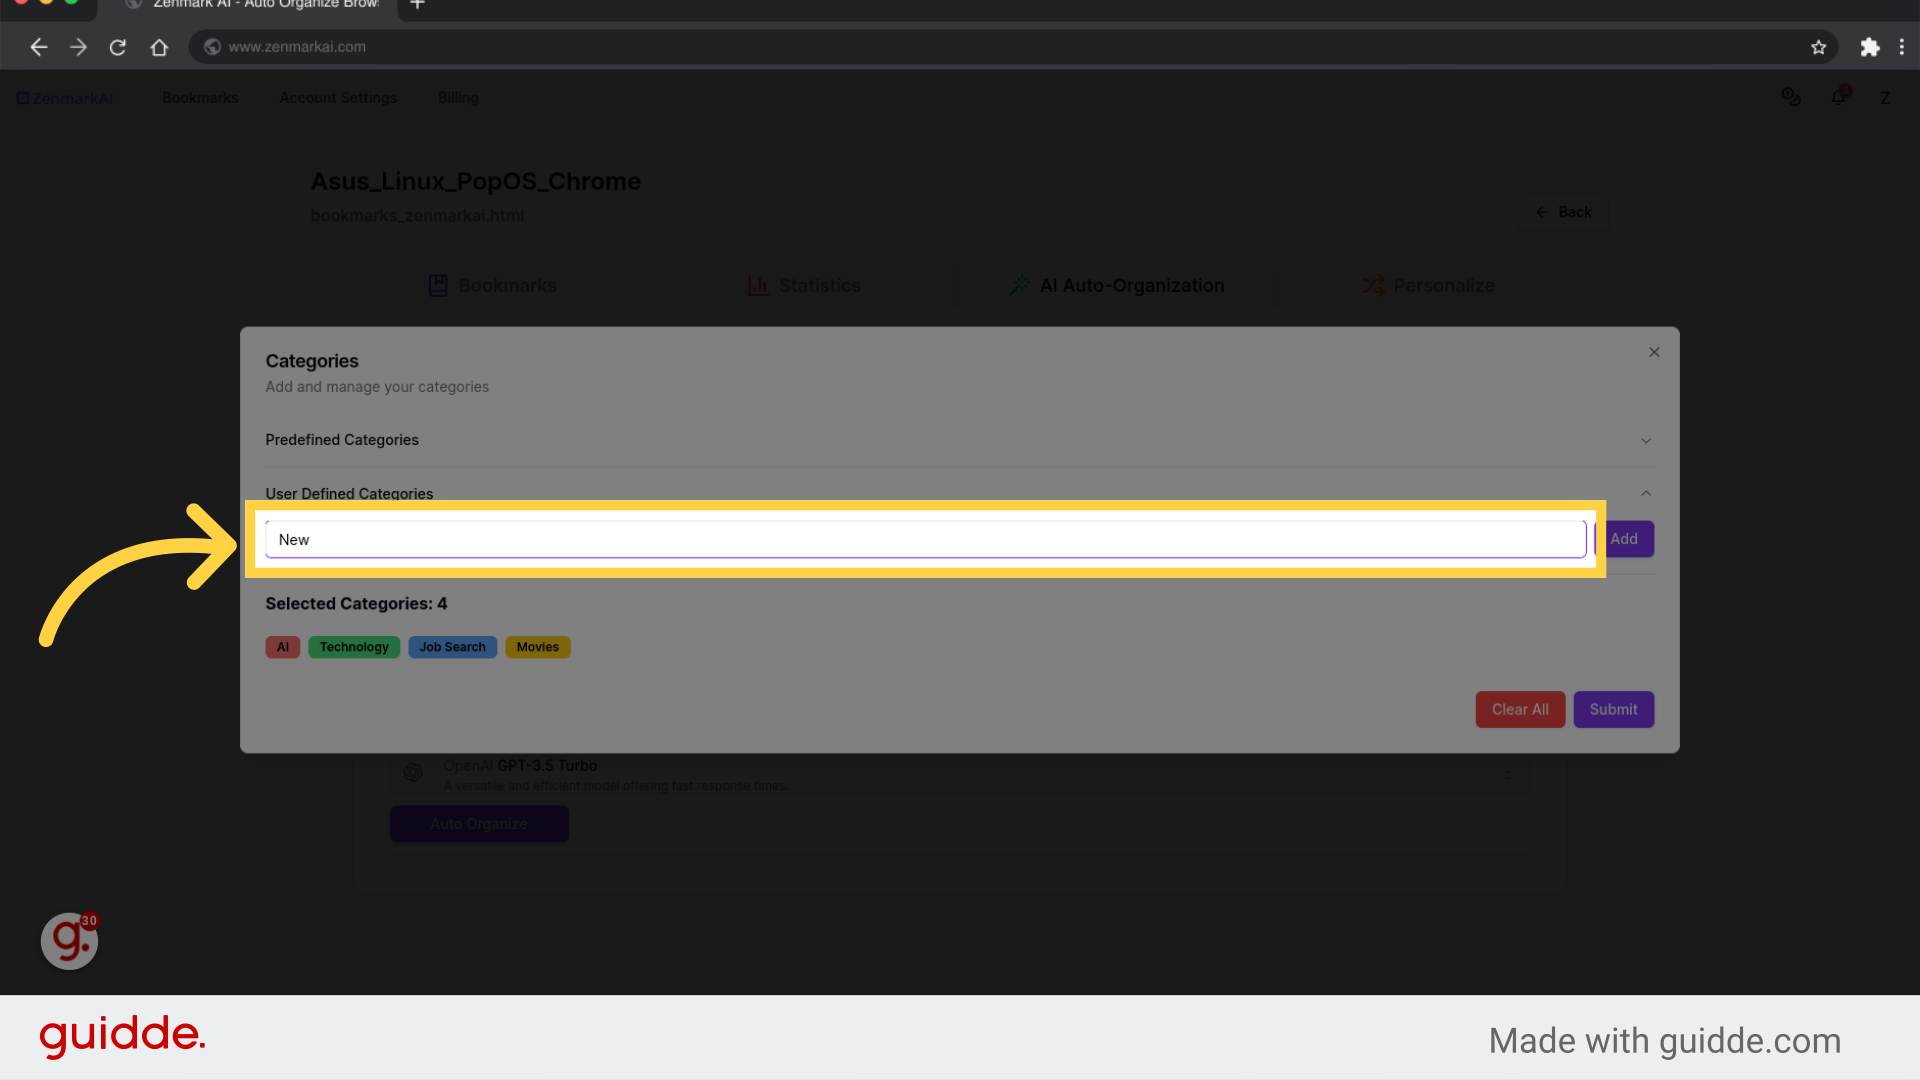
14. Add new category
Provide the necessary information.
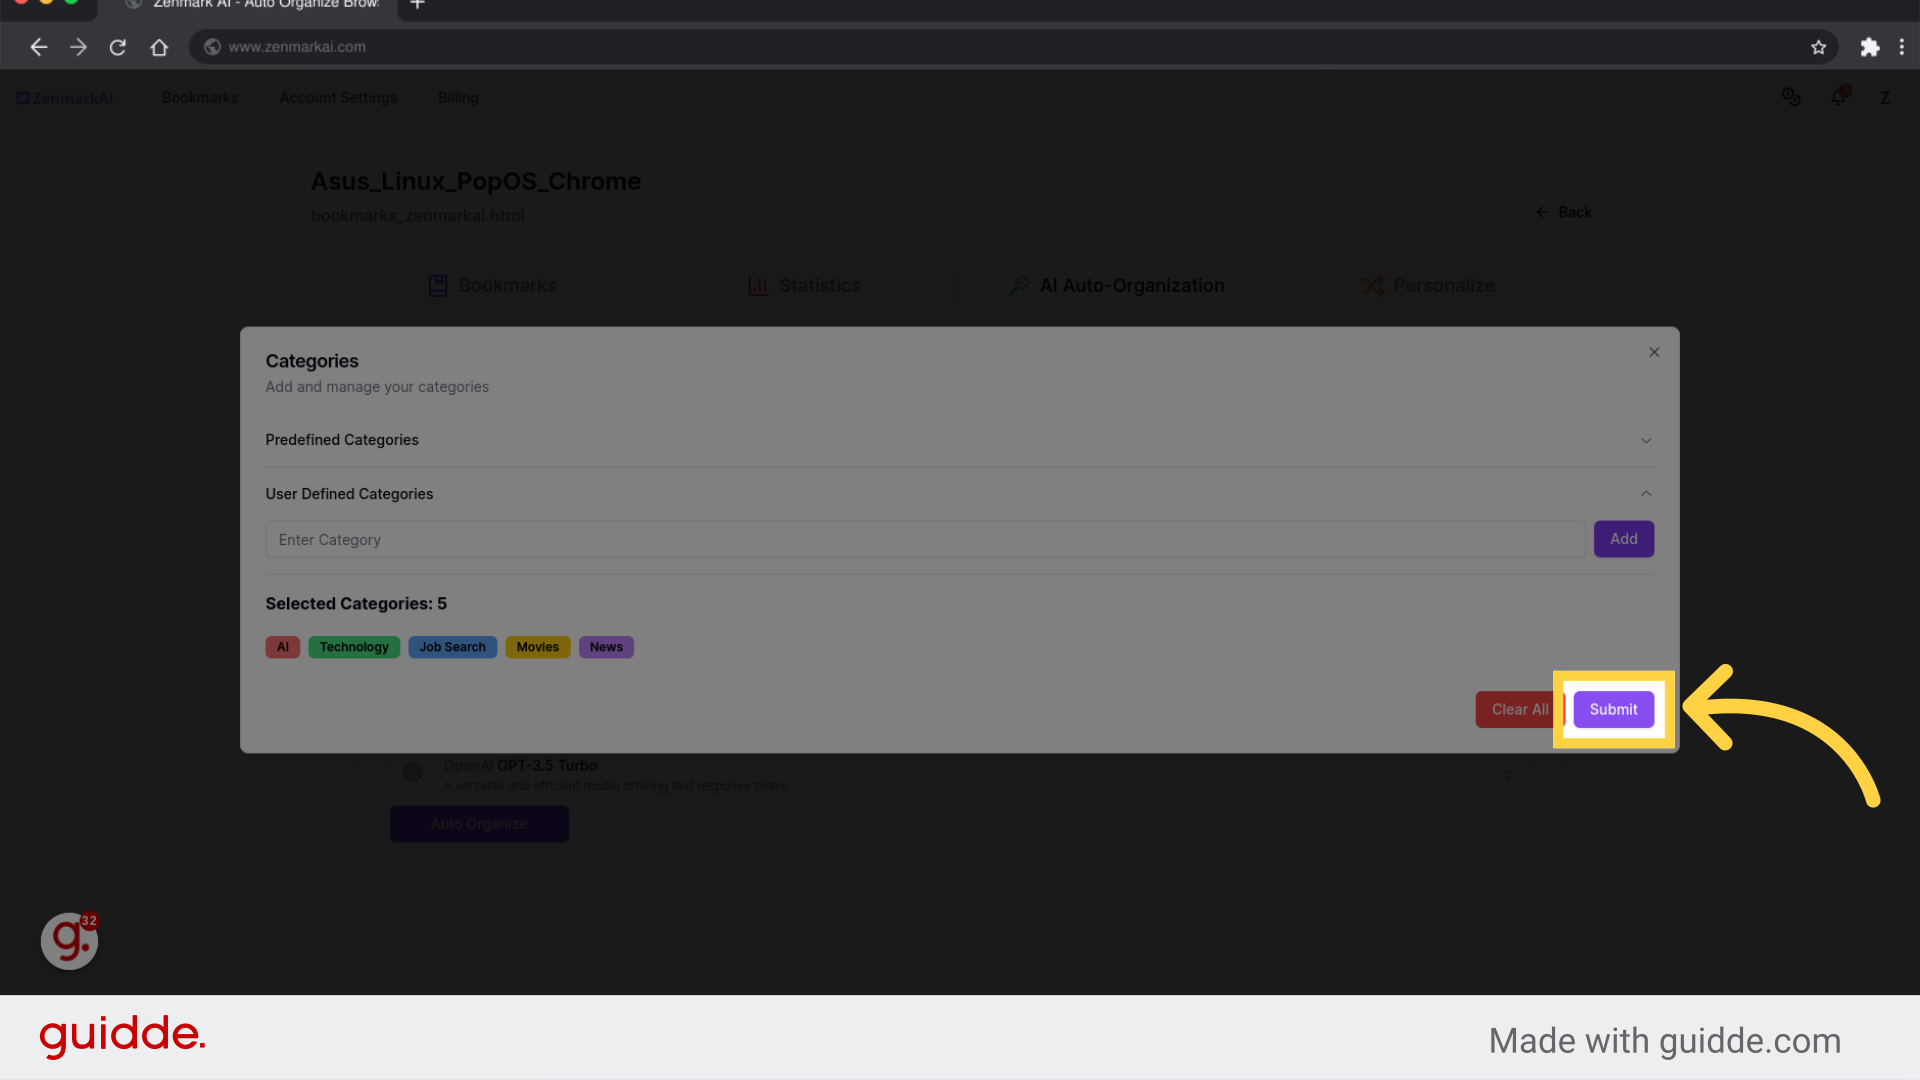
15. Click "Submit"
Submit the information.
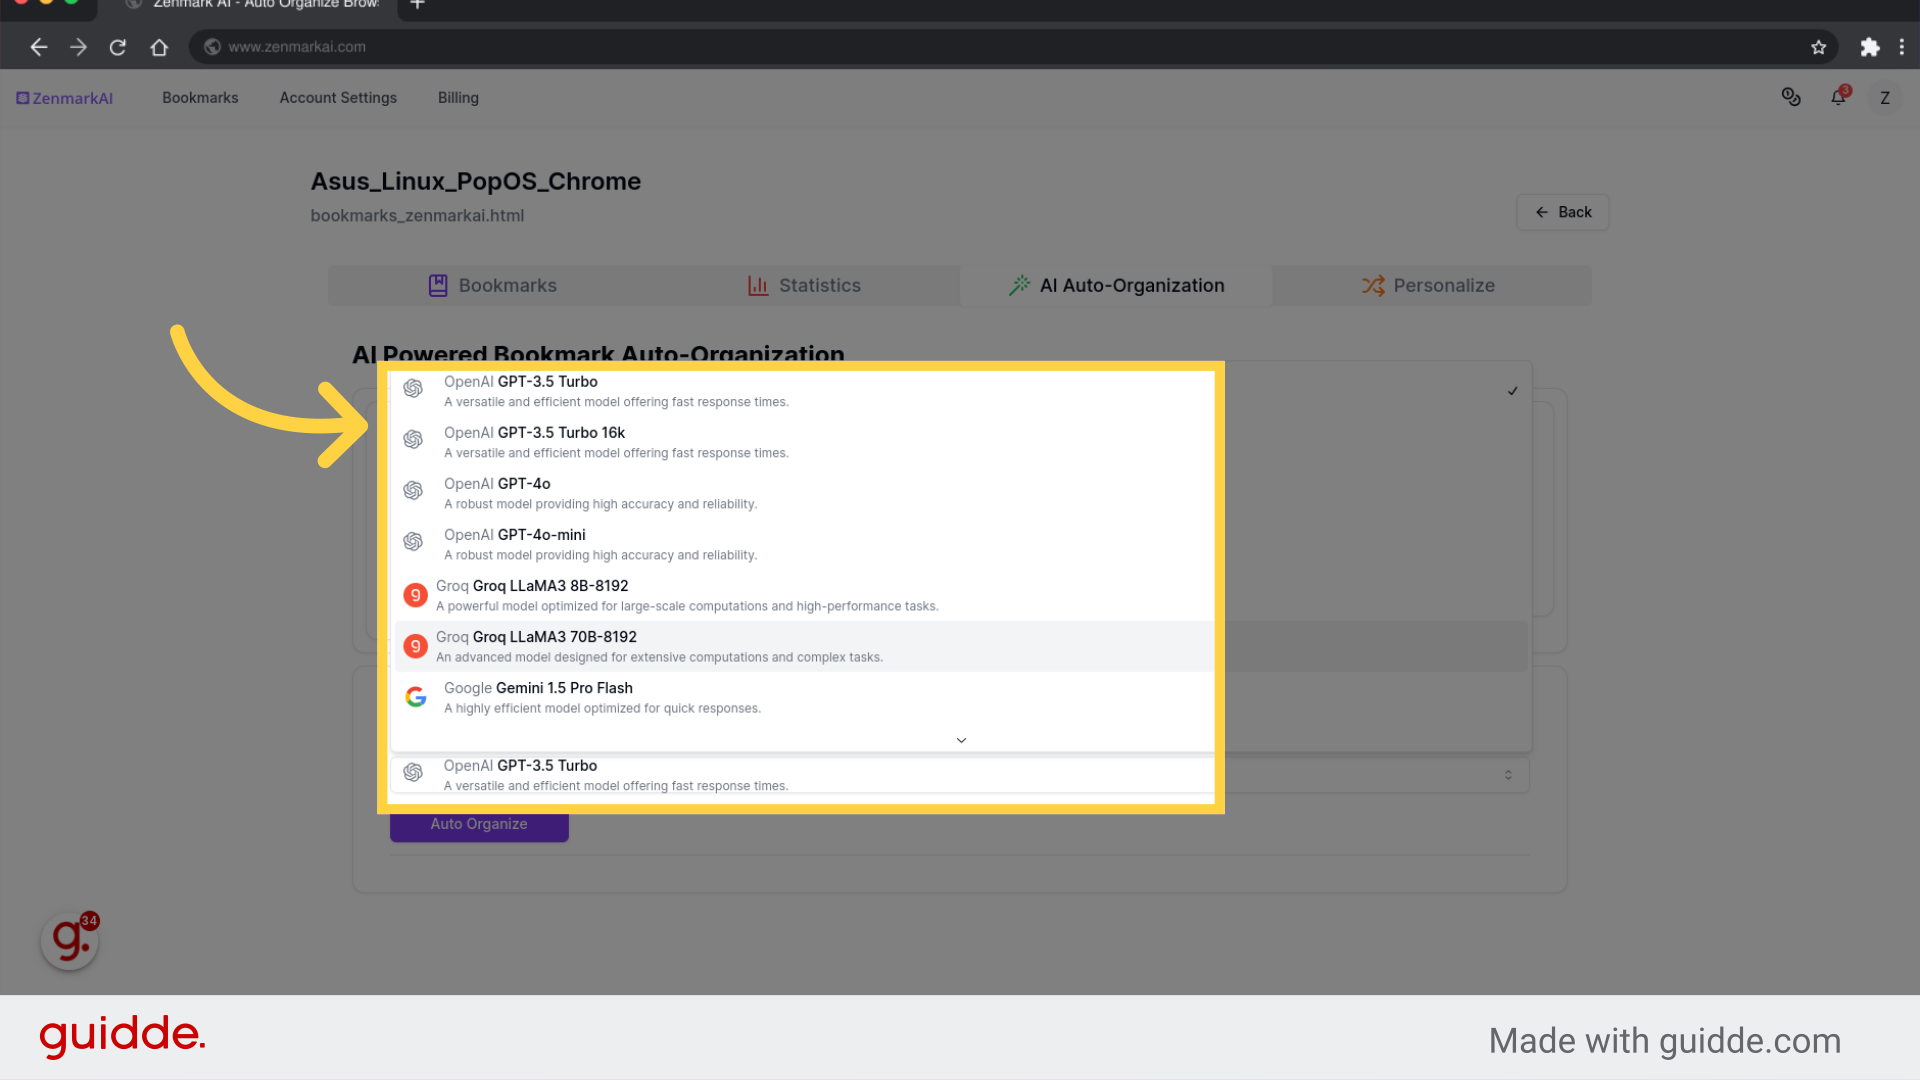
16. Select appropriate LLM model
Access the advanced model.
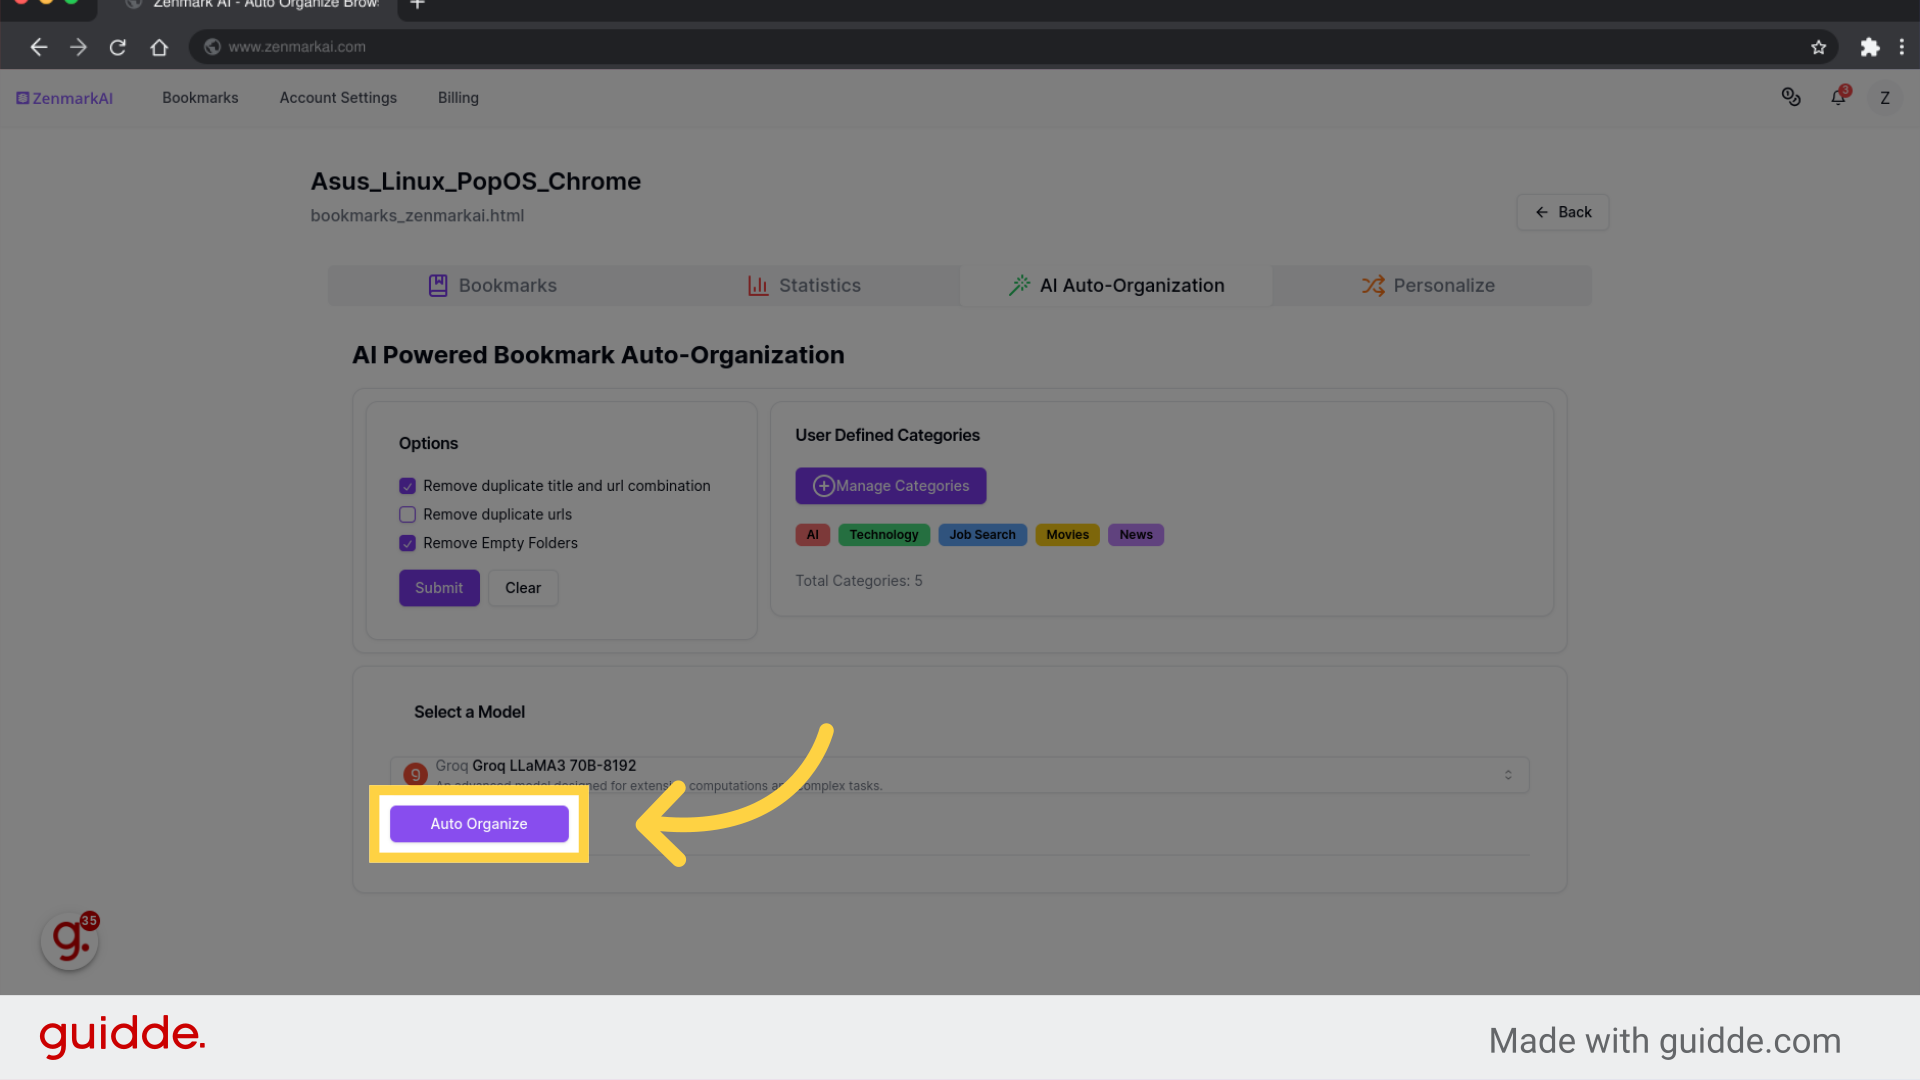
17. Click "Auto Organize"
Initiate the auto-organization process.
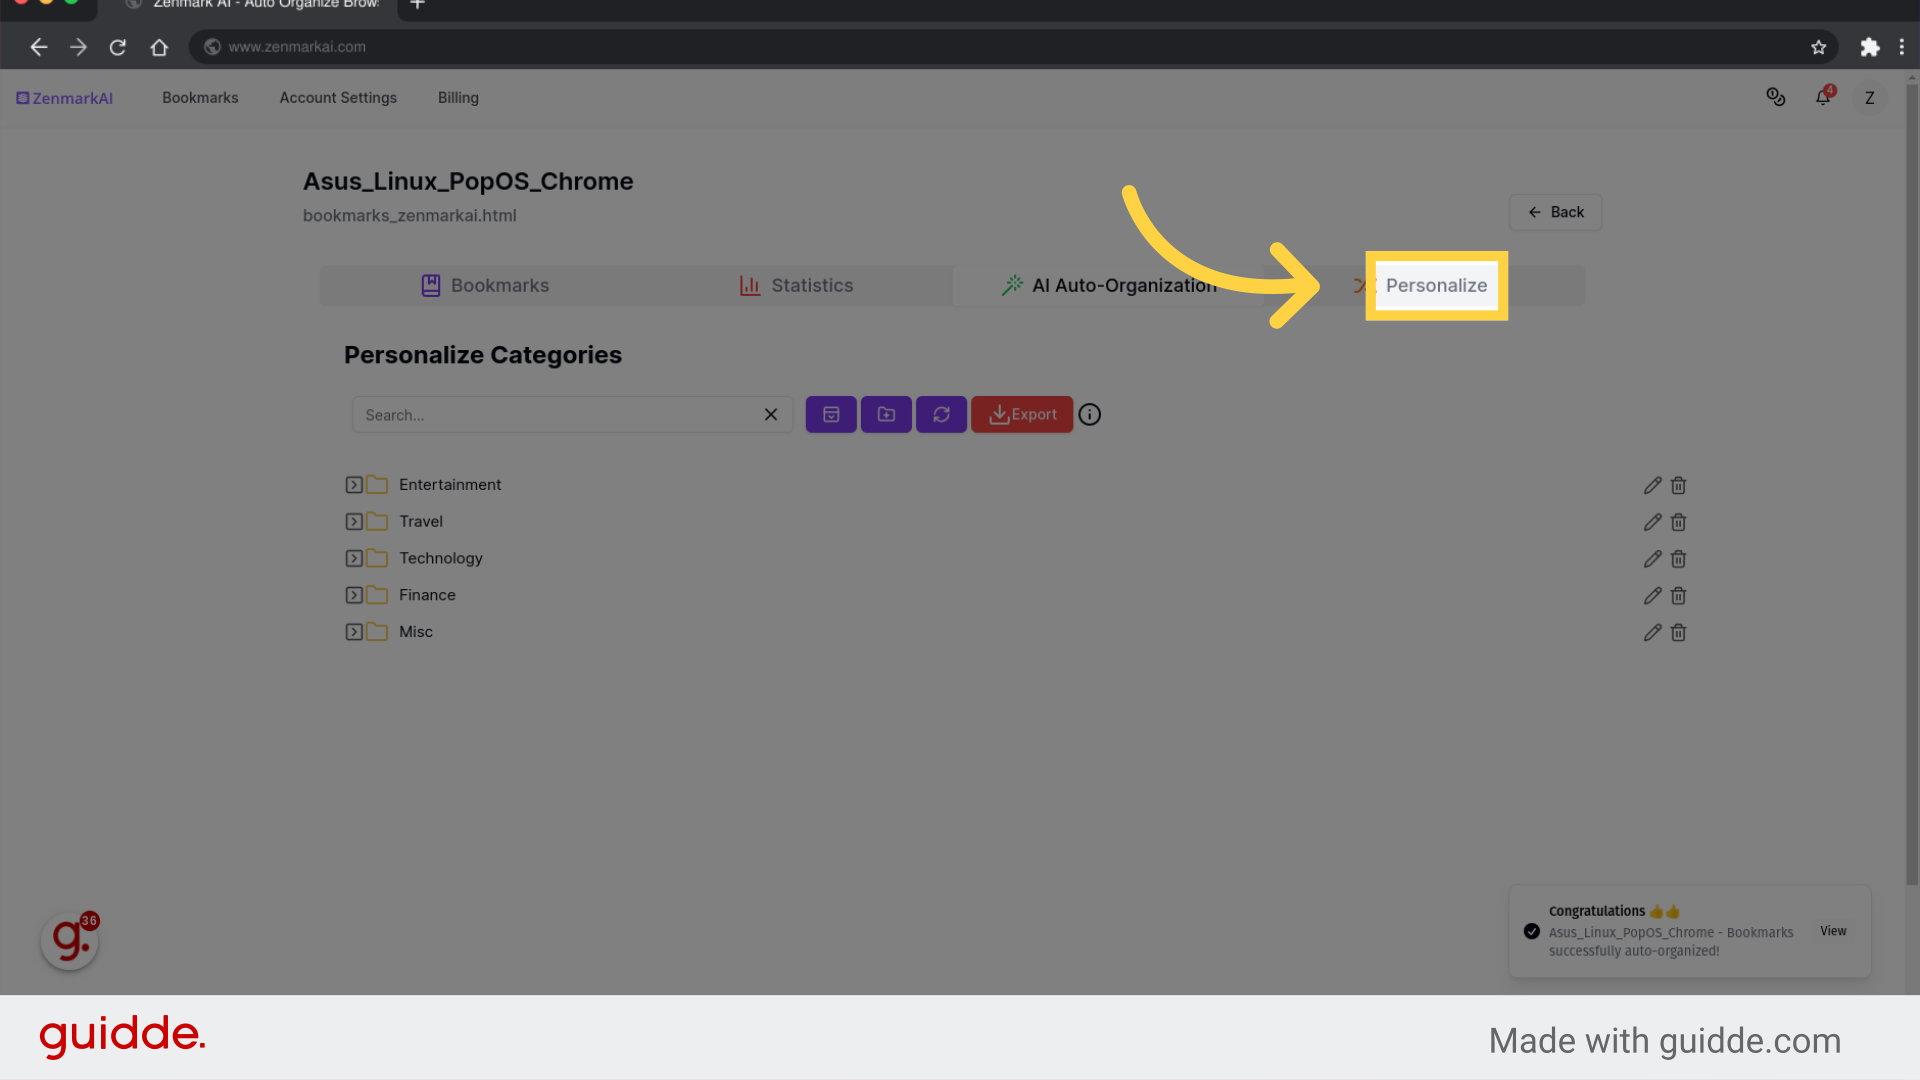
18. Click "Personalize"
Personalize the settings.
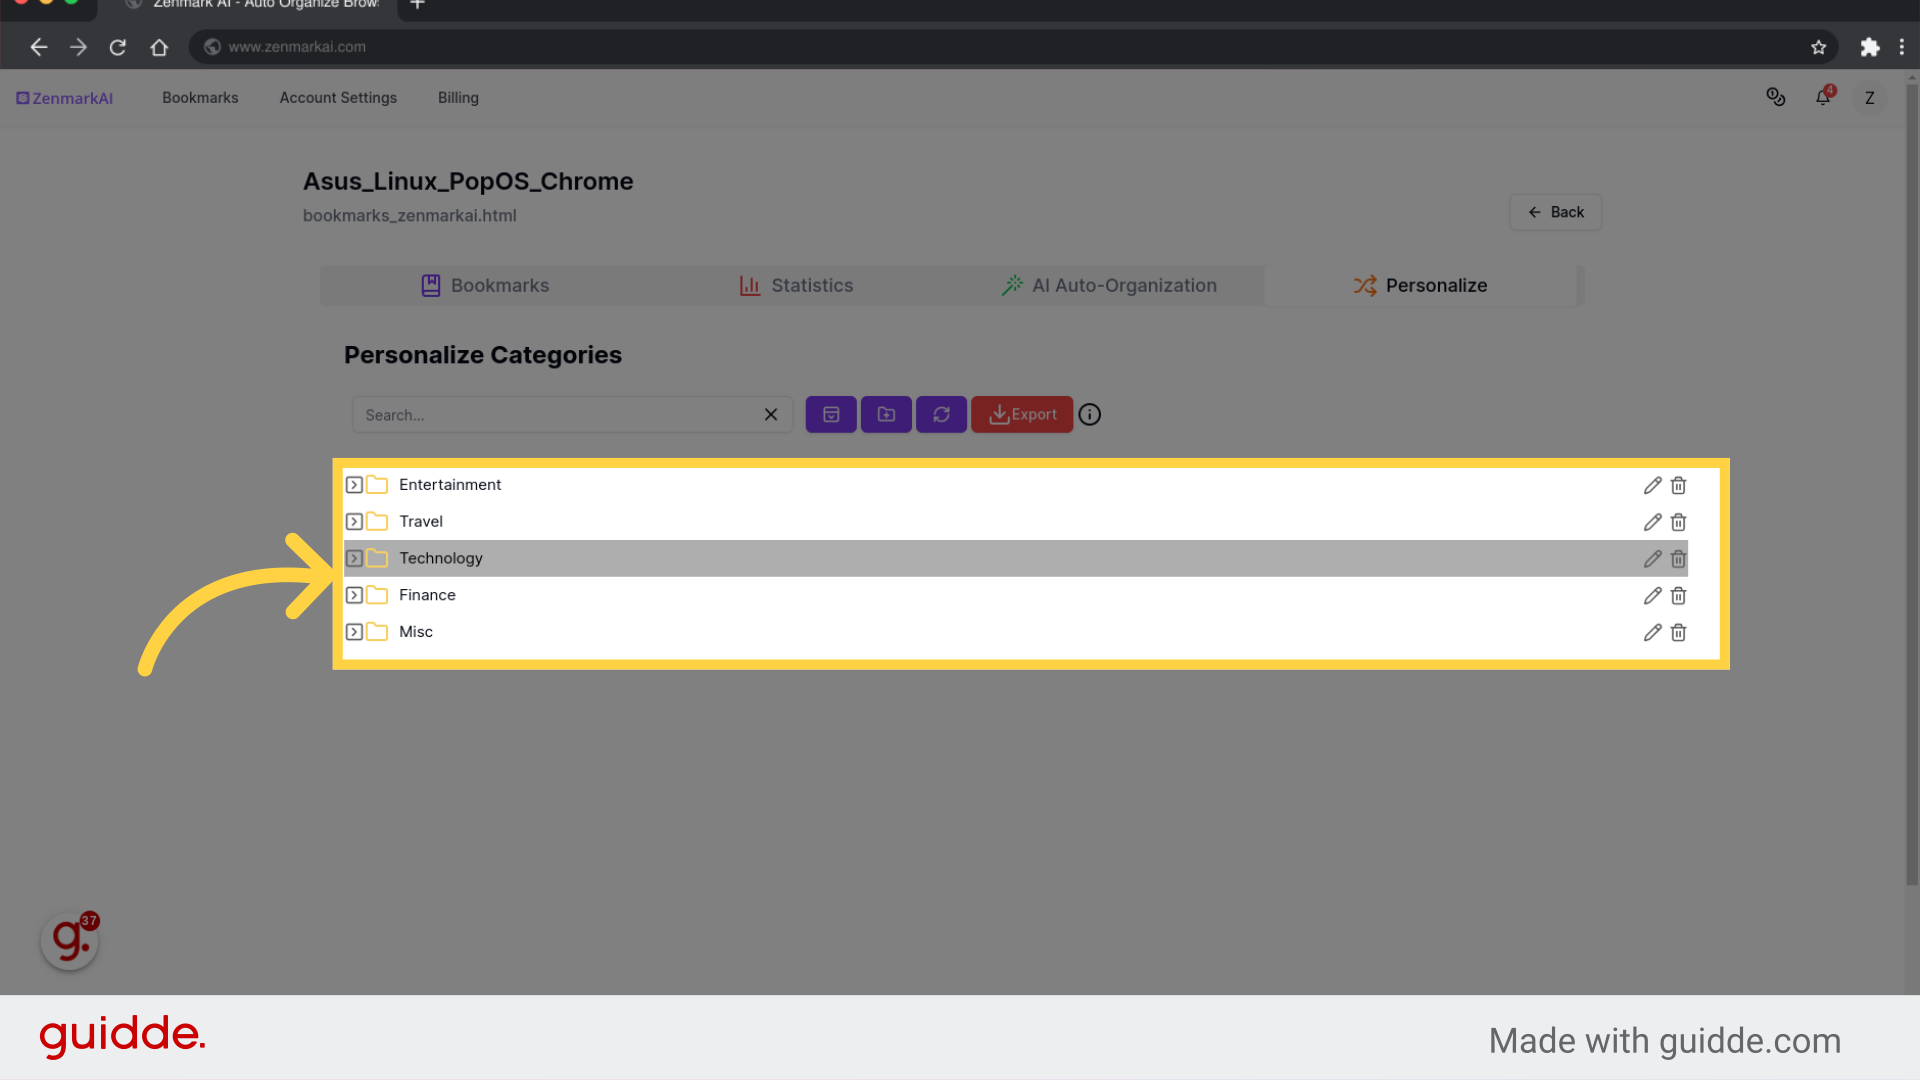
19. - Rearrange categories by drag and drop - Create new categories
Access the Technology category.
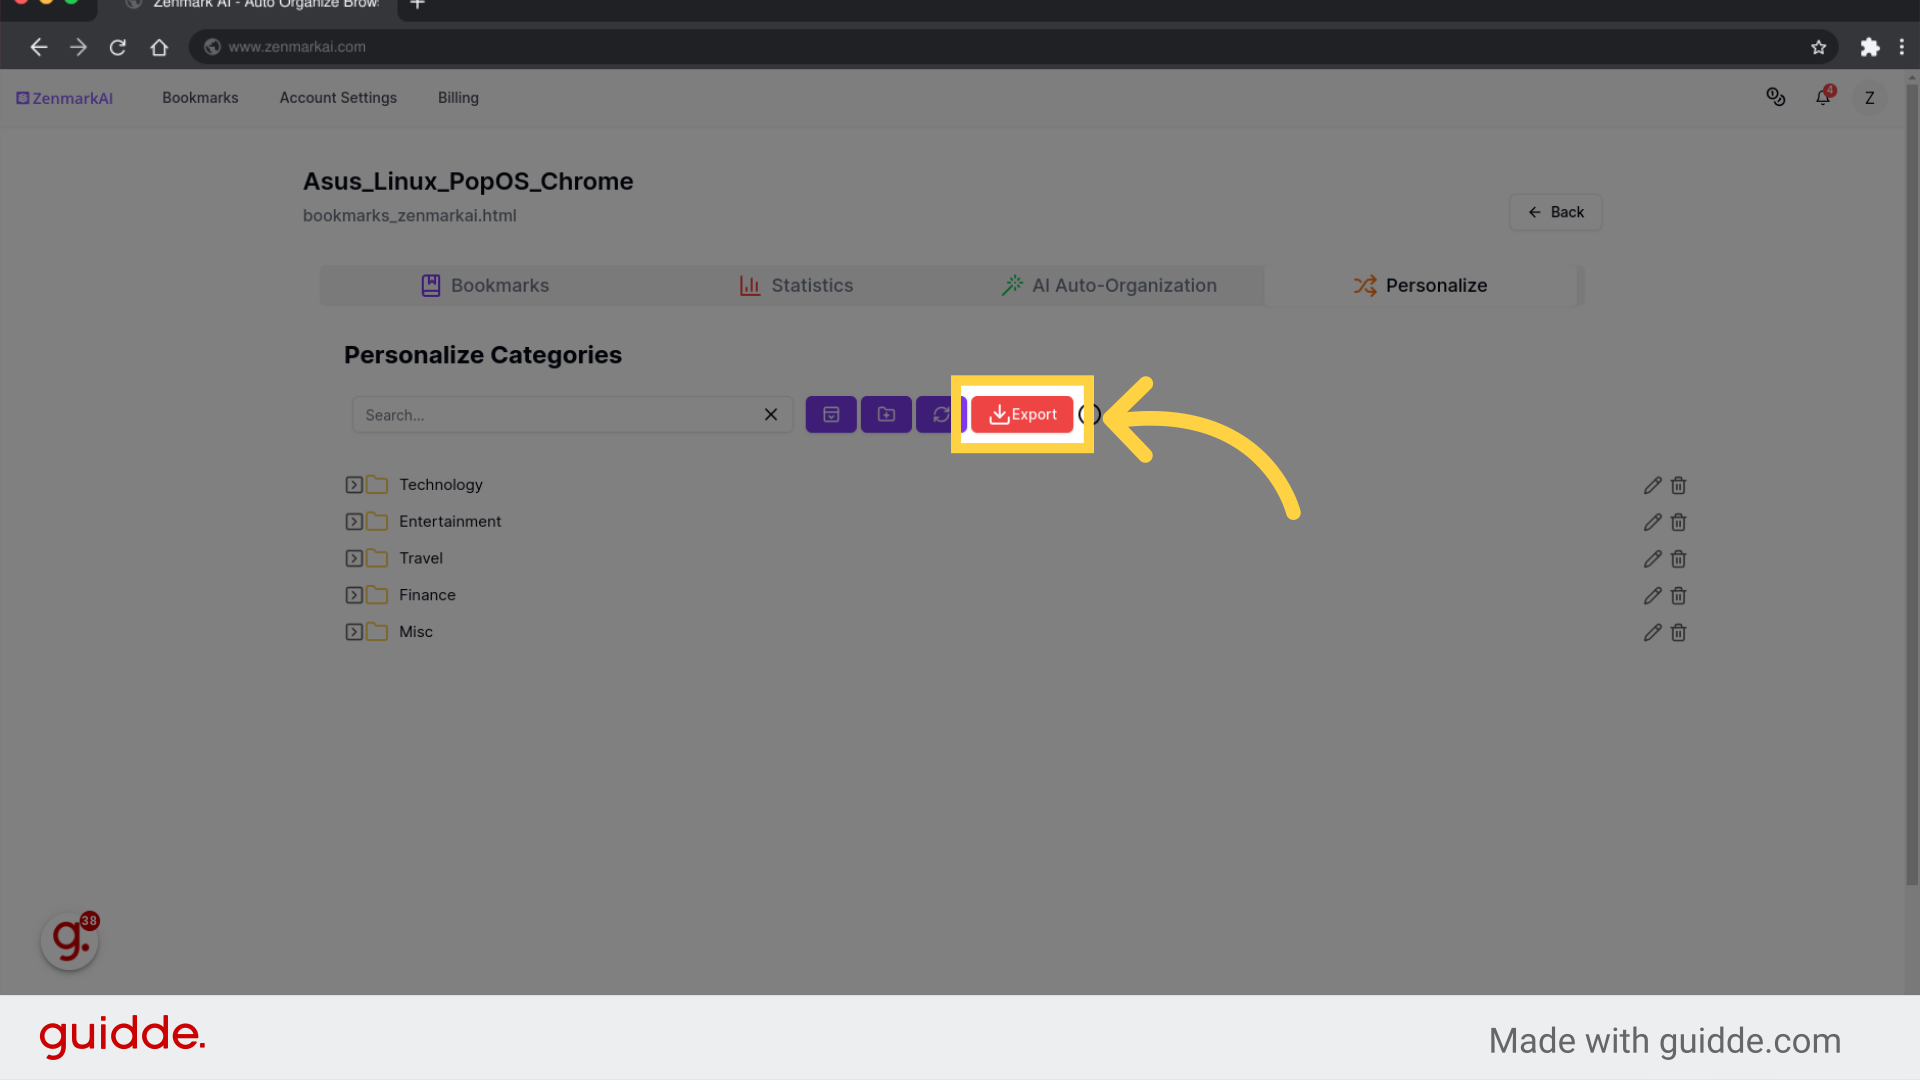
20. Click "Export"
Initiate the export process.
This guide walks you through using ZenmarkAI, covering tasks from signing in to advanced features like AI auto-organization and bookmark management.
